Mac and Cheese Cups

Updated Sep 20, 2026
This post may contain affiliate links. Please read our disclosure policy.
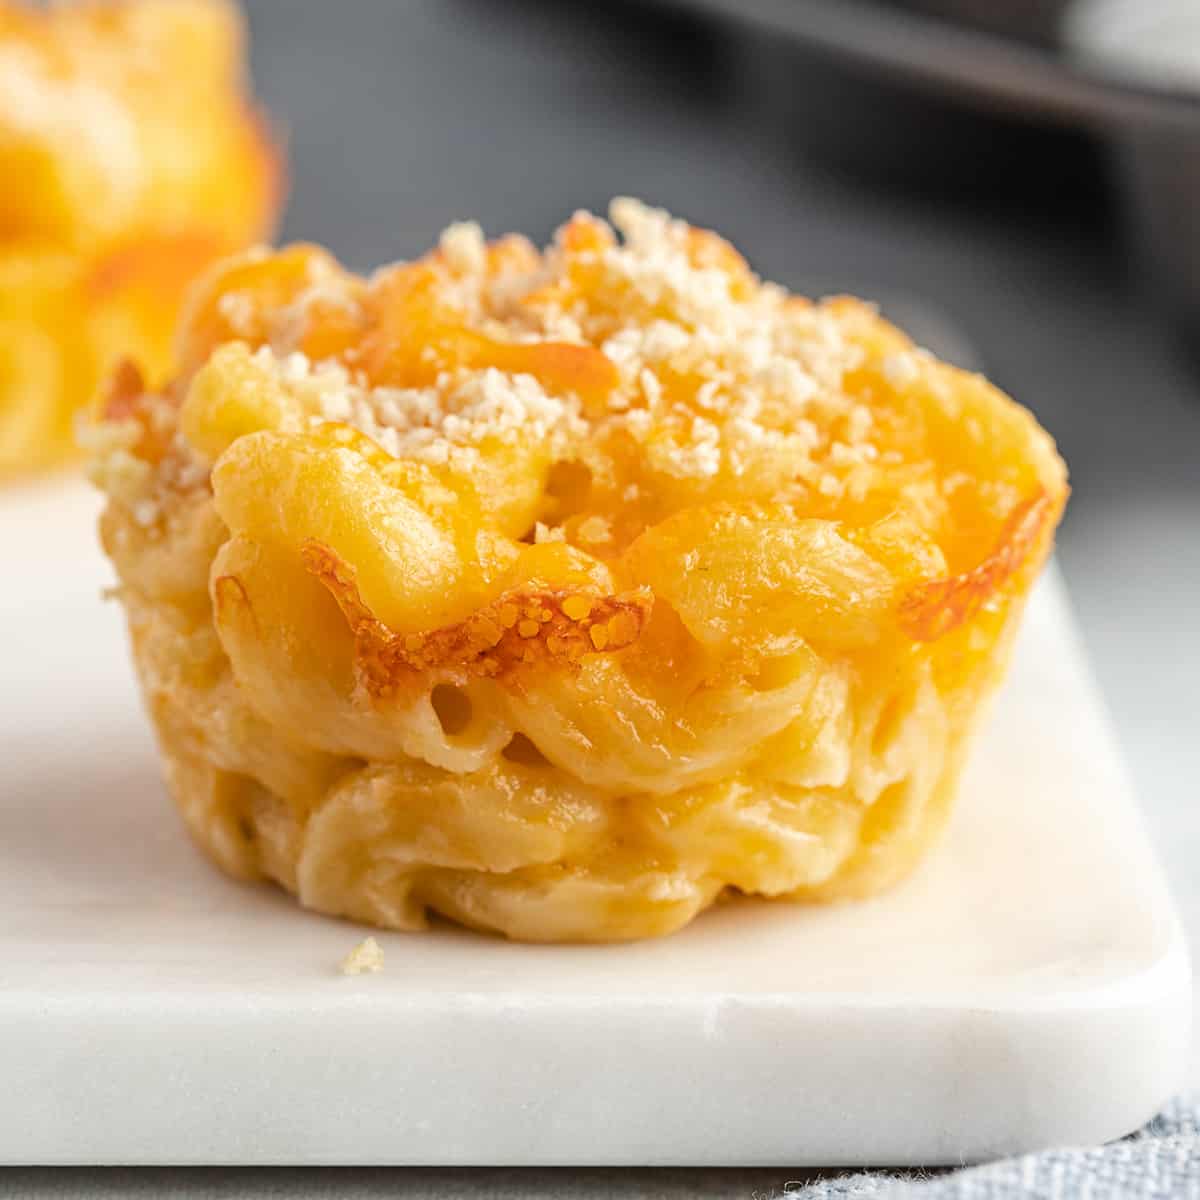
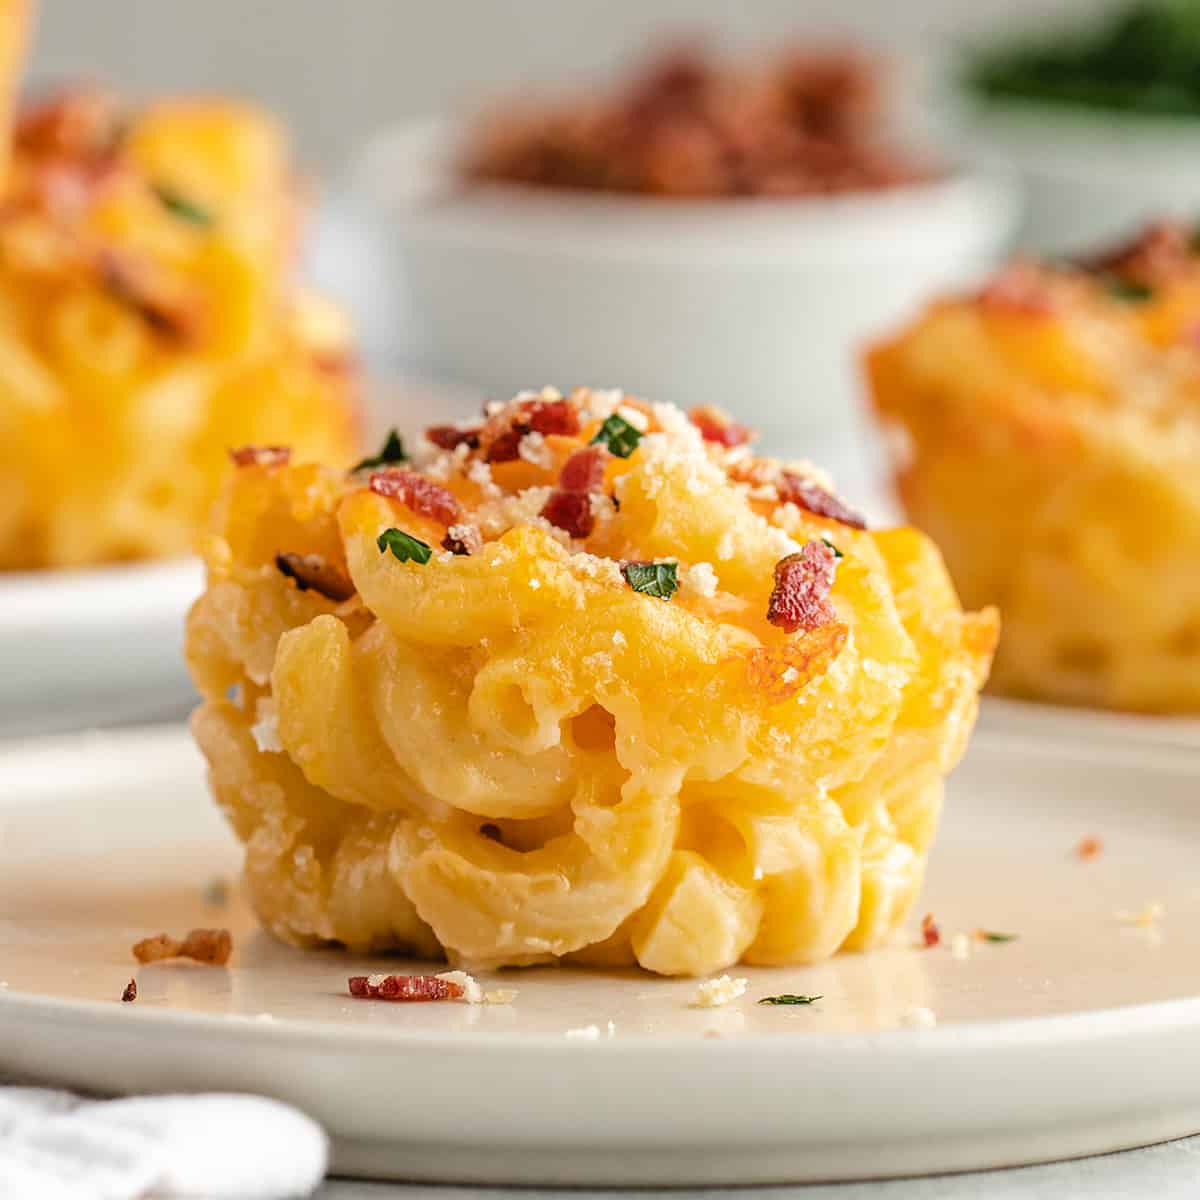
These mac and cheese cups are creamy, cheesy and topped with crispy breadcrumbs, then baked in a muffin tin for a fun twist on a classic. Macaroni and cheese cups are easy to make from scratch and are the perfect individual-sized side dish for holidays, parties or weeknight dinners.
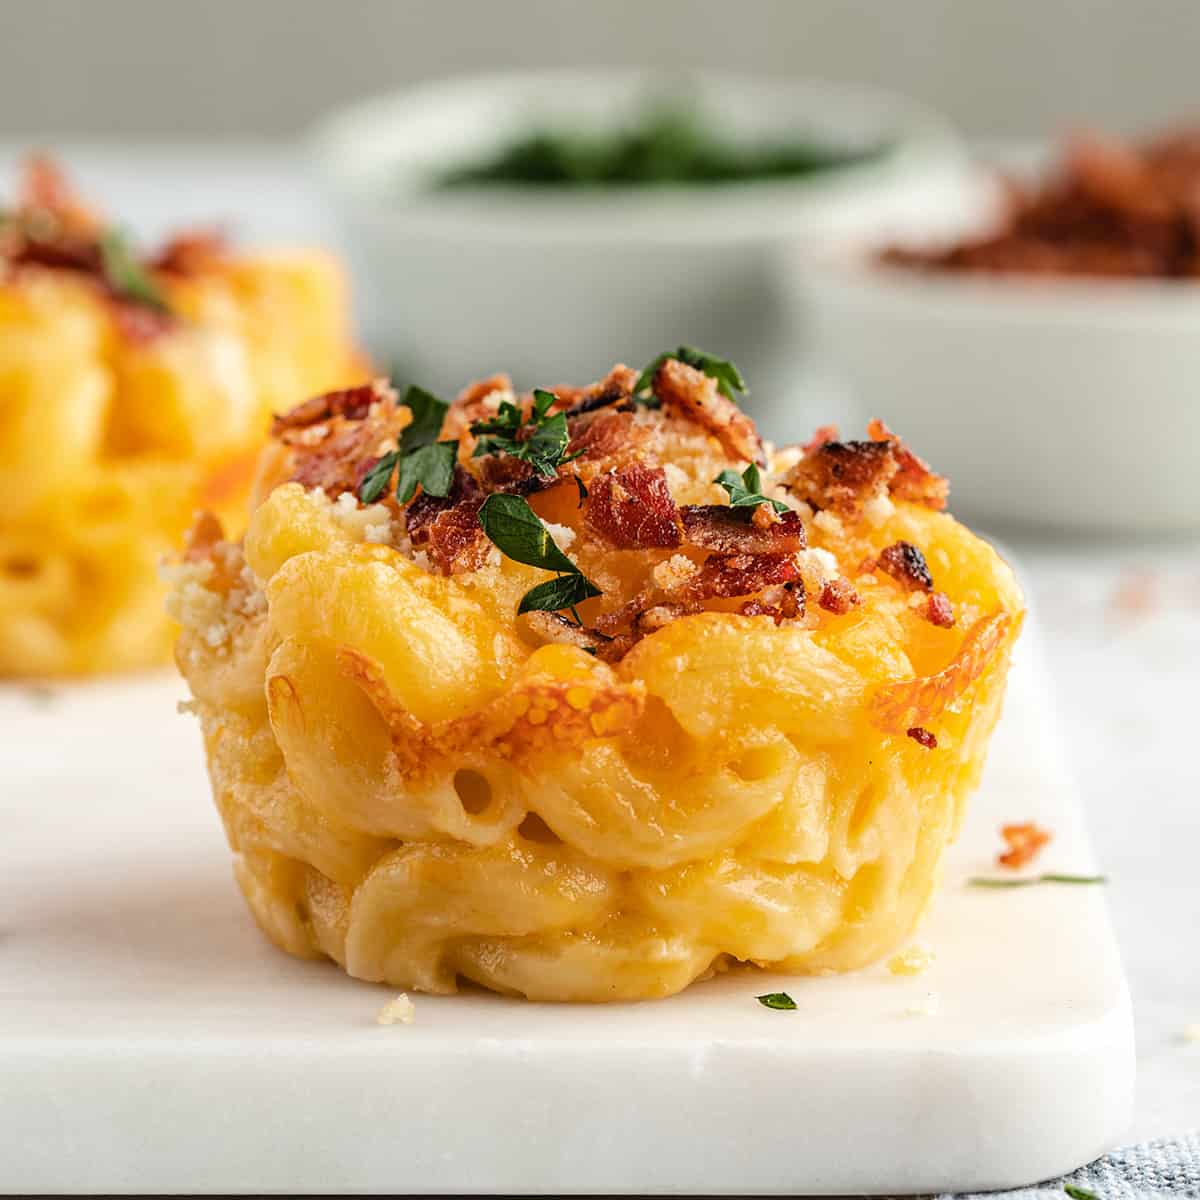
With 6 kids, you can imagine we eat a lot of mac and cheese around here (a lot of mac & cheese). We love my 15-minute homemade mac and cheese for busy weeknights and crock pot mac and cheese when we’re feeding a crowd, but these macaroni and cheese cups are such a fun way to make individual portions that are easy to serve with others as an appetizer or side dish!
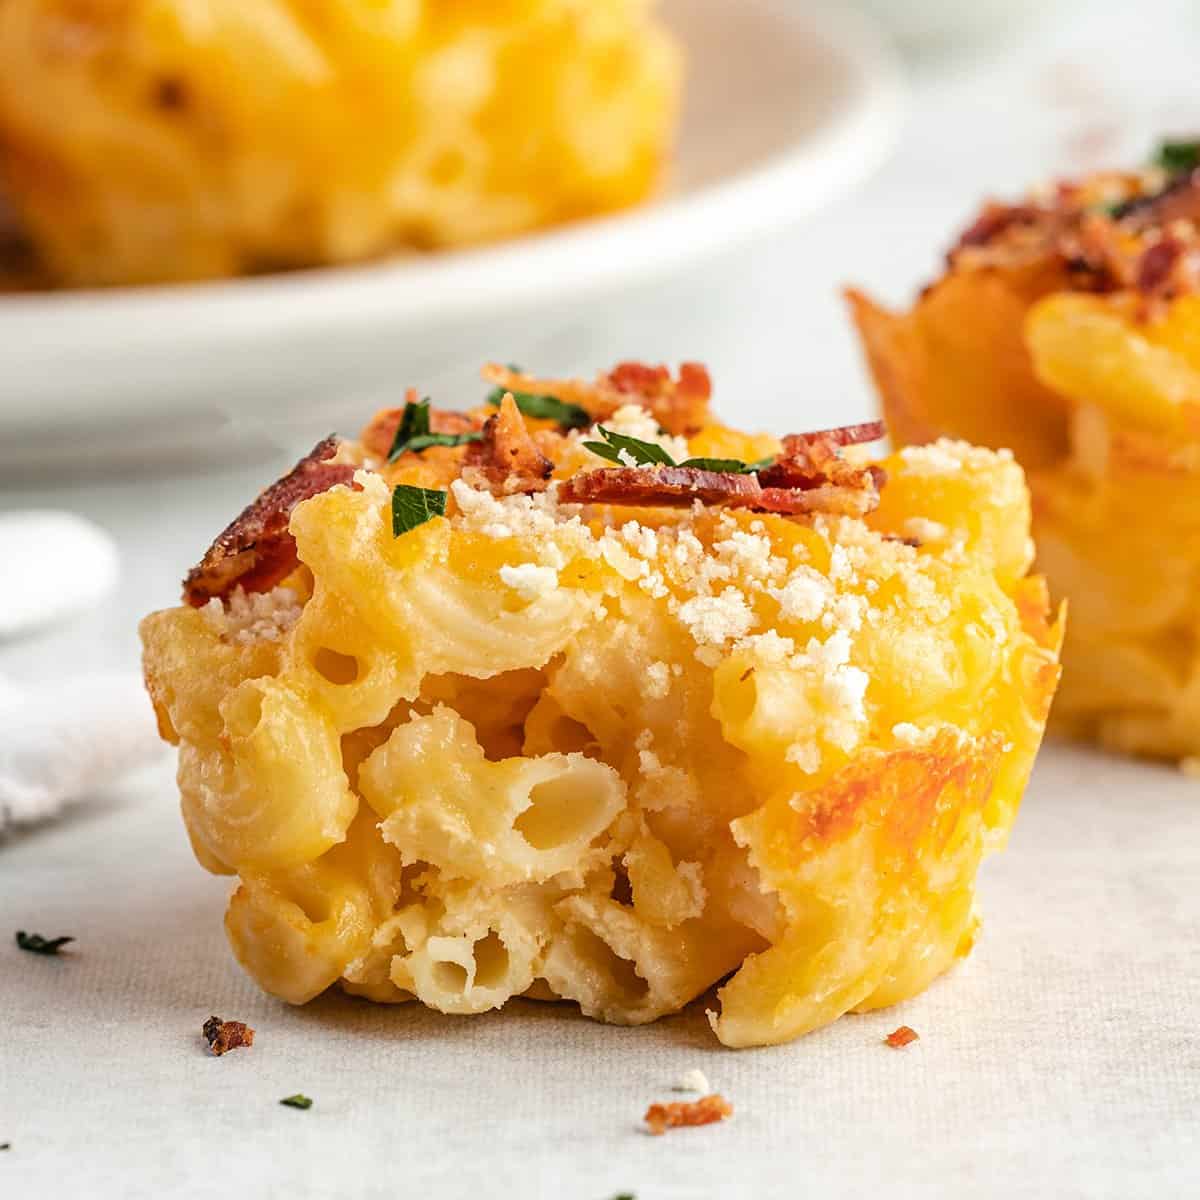
I adapted this recipe from my baked mac and cheese recipe, and in both the sauce is creamy enough to stay moist after baking – but not too moist so that the mac and cheese cups fall apart when they’re removed from the muffin tin! They’re topped with a crispy panko and cheddar topping that makes them extra delicious!
Why You’ll Love These Mac and Cheese Cups
- Easy to serve. Baking macaroni and cheese in a muffin tin creates perfectly portioned servings that are fun to eat and easy to serve.
- Made from scratch. These cups are made with a simple homemade cheese sauce – no boxed mac and cheese or processed cheese.
- Not Dry! They’re creamy, cheesey and moist even after baking.
- Crispy topping. A mixture of cheddar cheese and panko breadcrumbs creates an irresistible crispy, cheesy top.
- Perfect for entertaining. They’re a great side dish for holidays and parties because guests can easily grab individual servings.
- Kid-approved. Mac and cheese is always a hit with my six kids, and they especially love it served in these fun little cups!
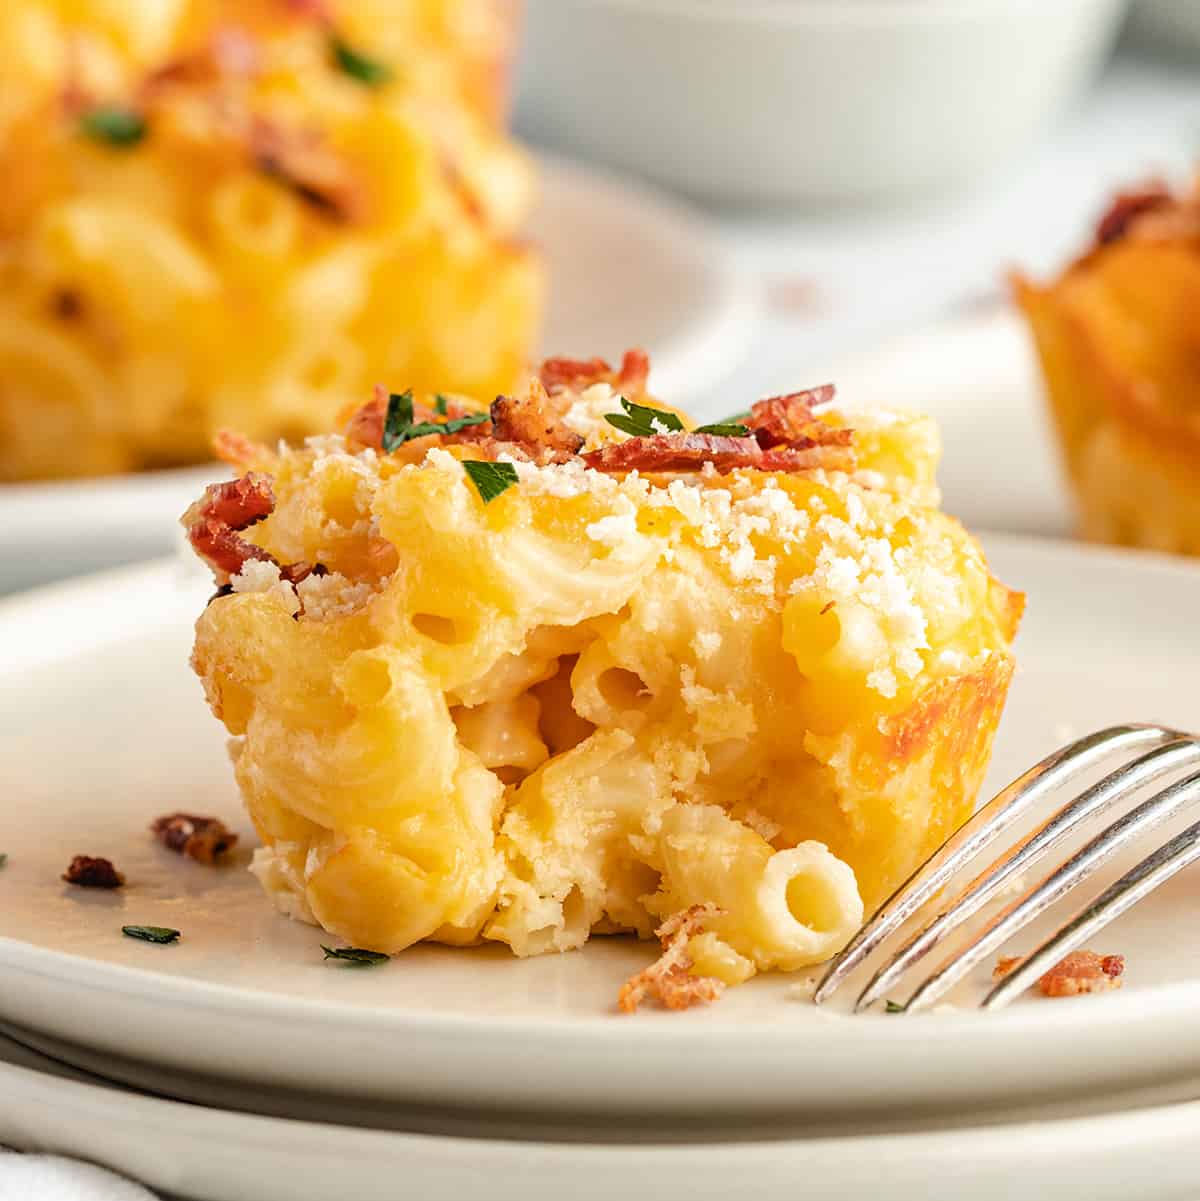
Macaroni and Cheese Cups: Ingredients & Substitutions
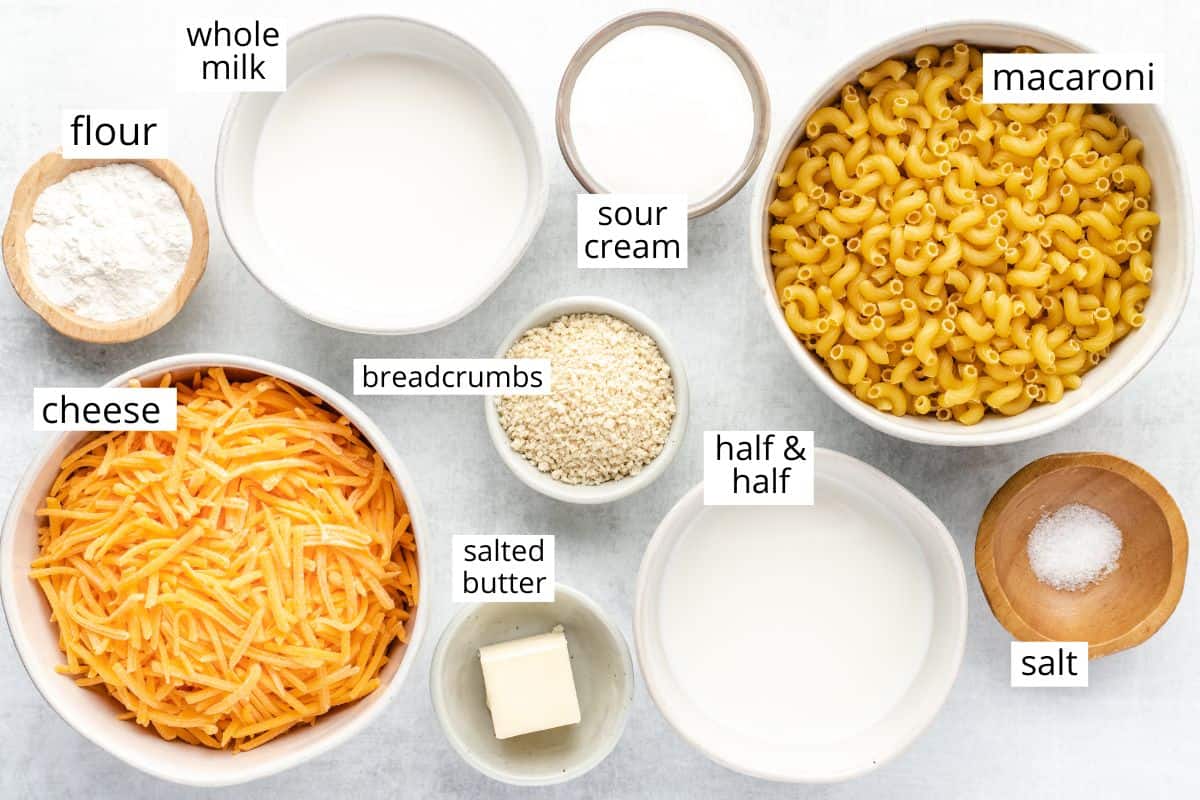
- Elbow macaroni. To make sure this recipe sticks together, I don’t recommend substituting a different pasta shape. You can use gluten-free macaroni to make this recipe gluten-free.
- Salted butter. Unsalted butter is a good substitute.
- All-purpose flour. Corn starch and all-purpose gluten-free flour both are good substitutes.
- Whole milk/half and half. this recipe calls for a total of 1 cup of liquid dairy. You can replace either whole milk or half and half with heavy cream or 2% milk.
- Sour cream. I recommend full-fat sour cream. Full-fat Greek yogurt is a great substitute.
- Cheddar cheese. The quality of the cheese really matters in this recipe. I recommend buying a block of medium or sharp cheddar and shredding it yourself for the smoothest cheese sauce. I often use half sharp cheddar and half gouda, and it’s so, so good.
- Panko breadcrumbs. Any breadcrumbs work in this recipe, I like the crunchy texture of panko. I explain how to make your own in the recipe card.
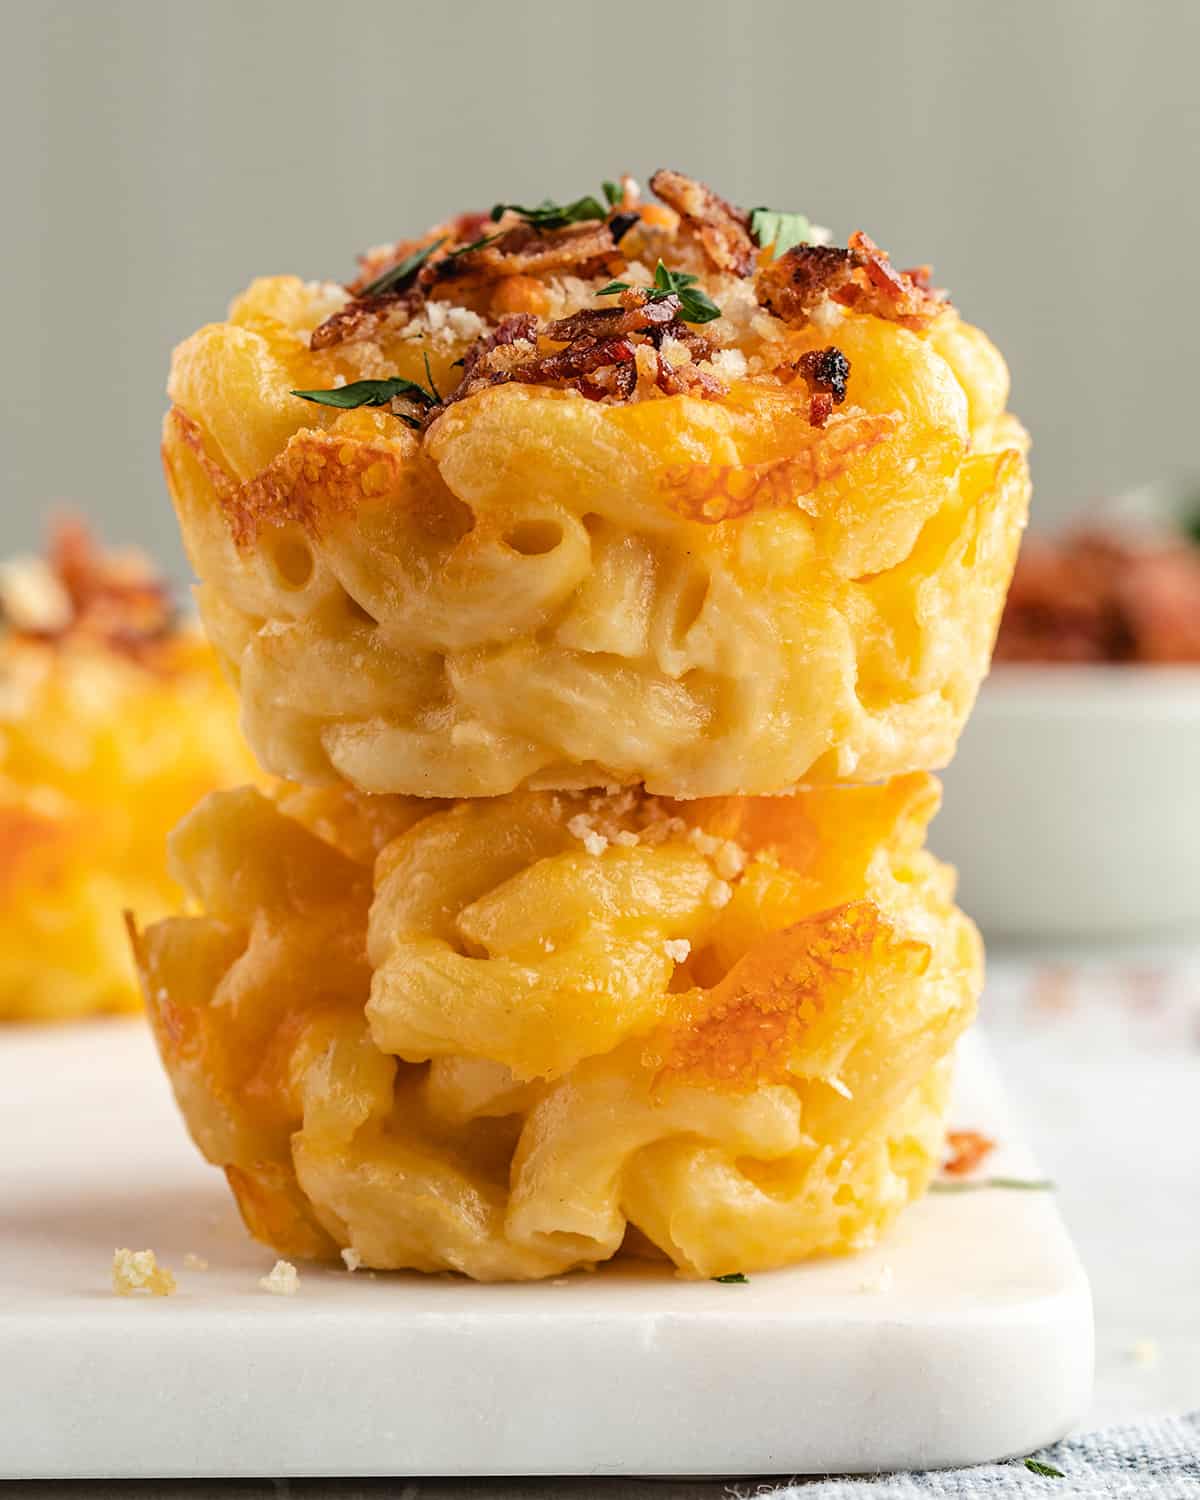
How to Make Mac and Cheese Cups
These mac and cheese cups are easy to make from scratch with a simple homemade cheese sauce. We’ll walk through the process step-by-step, and don’t forget to watch the video!
Begin by preheating the oven and generously buttering a standard 12-cup muffin tin.
Cook the Macaroni
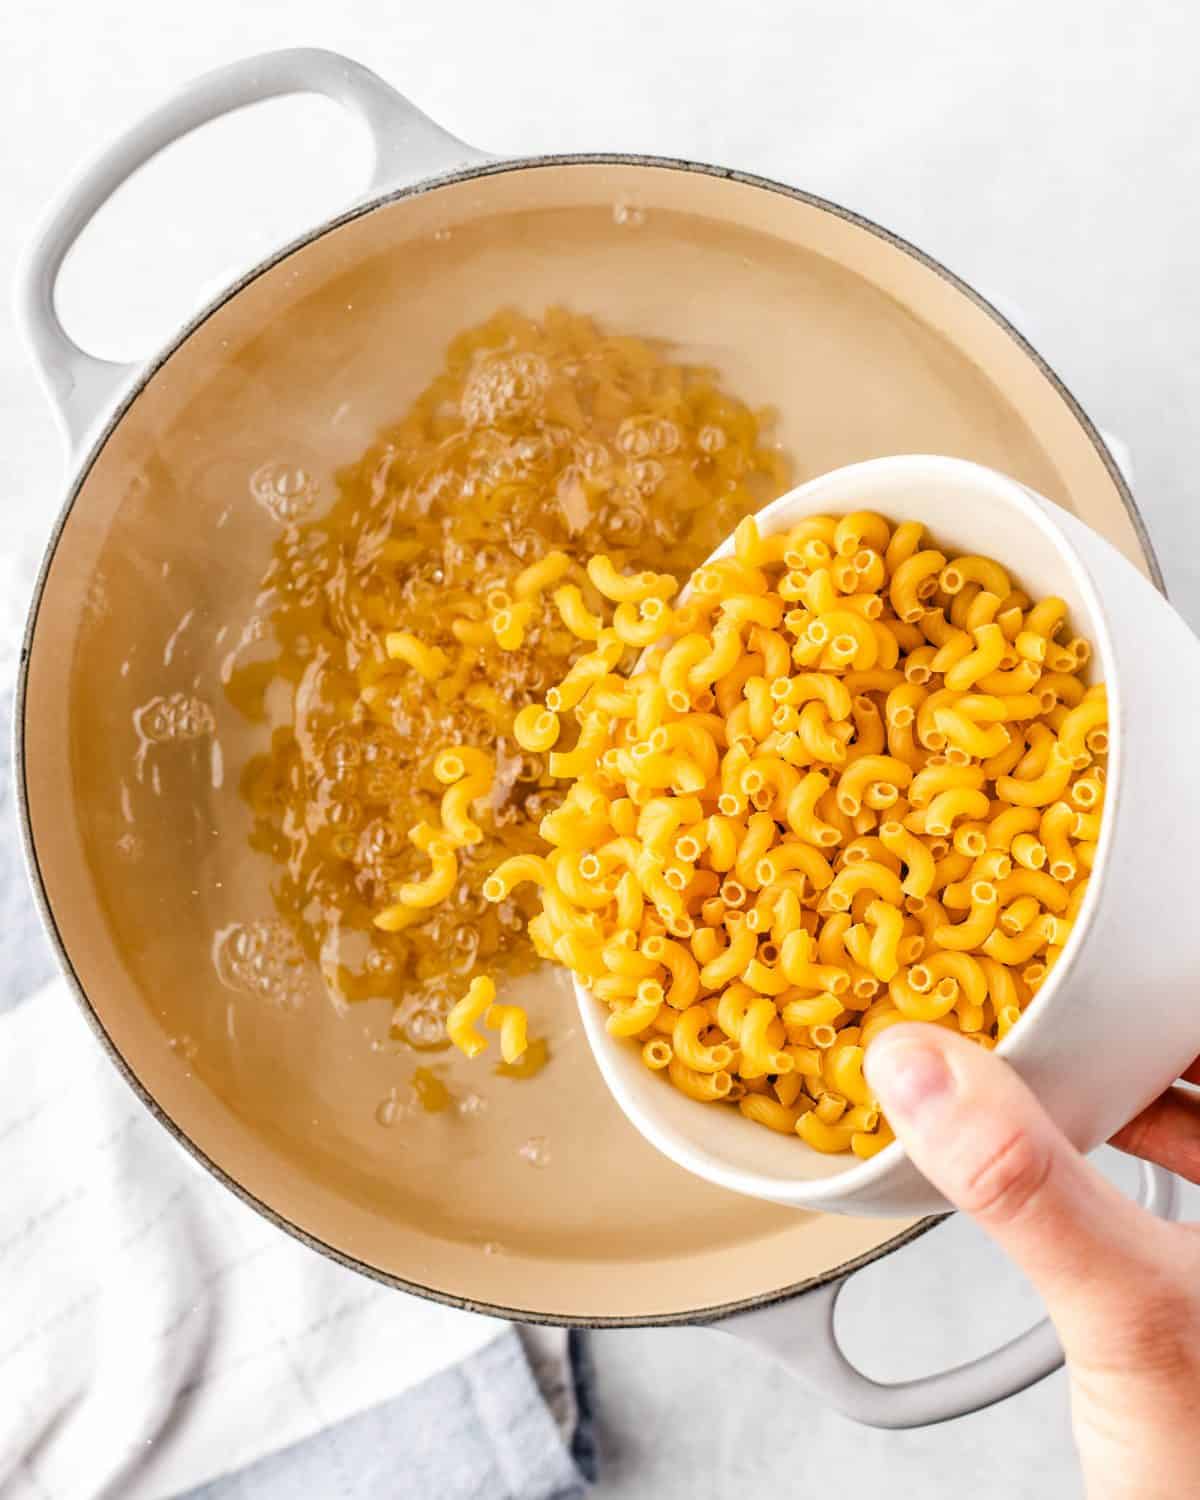
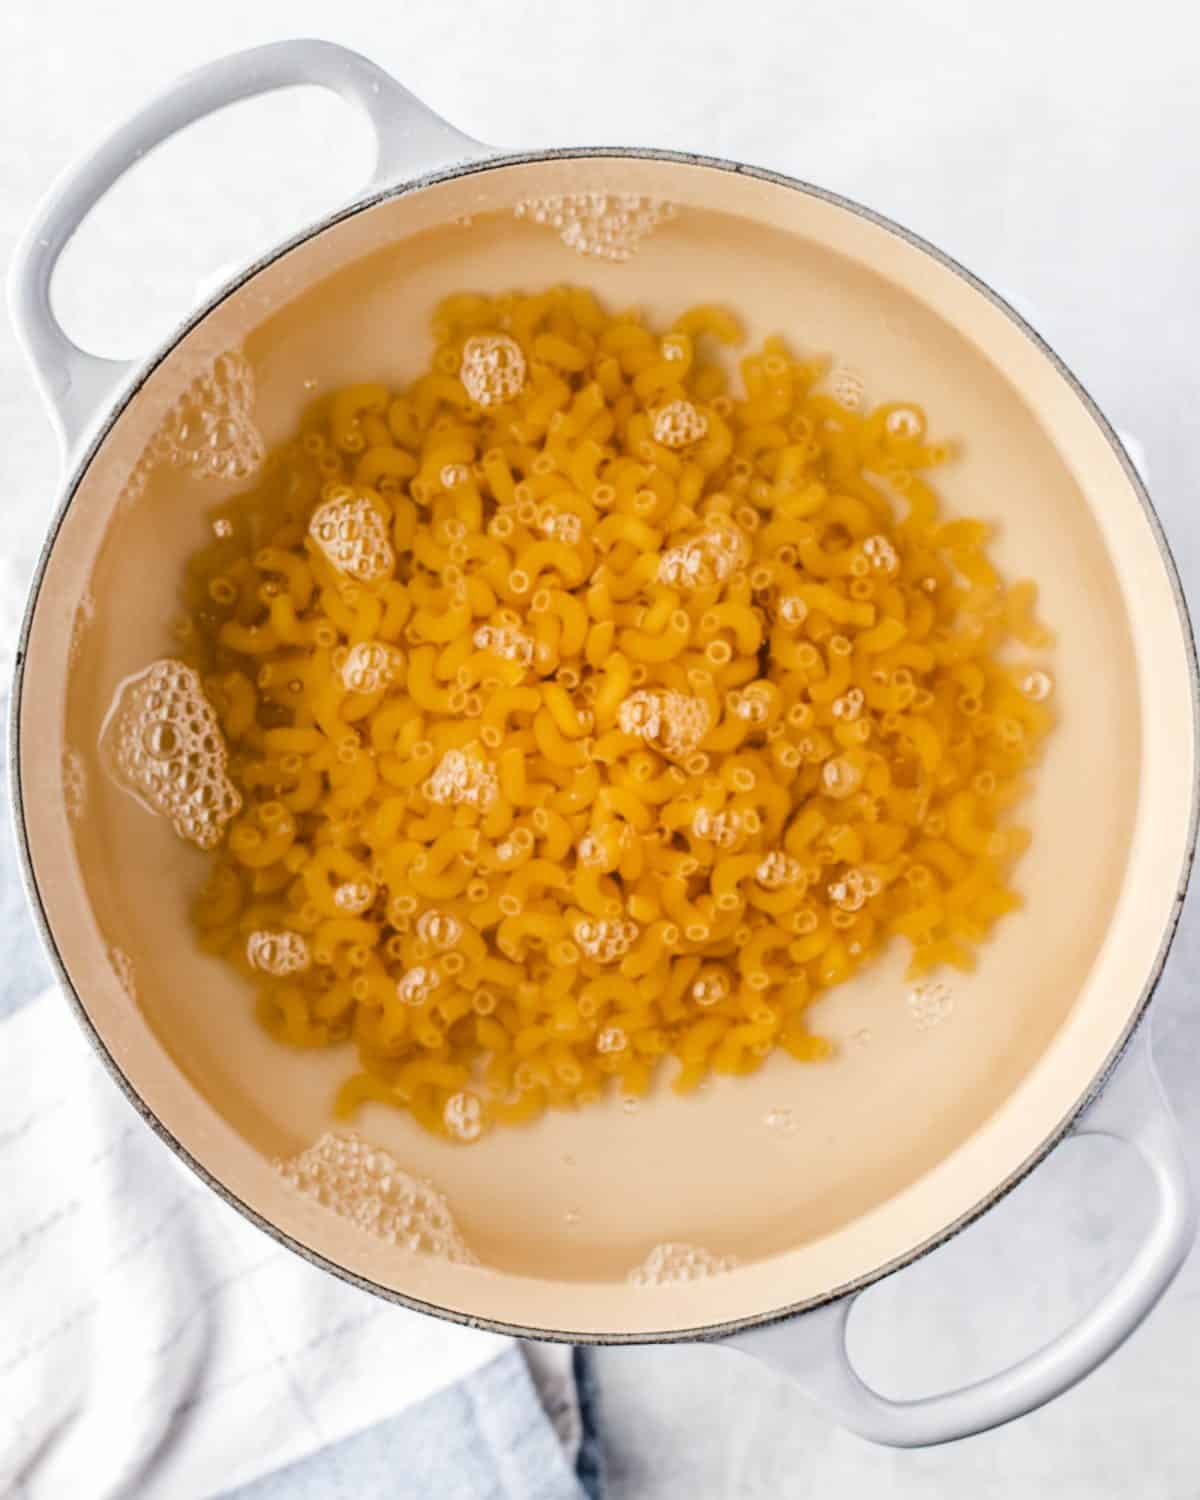
Then, cook the elbow macaroni according to package instructions in salted water. Once it’s finished cooking, drain and set aside but do not rinse.
Make the Topping
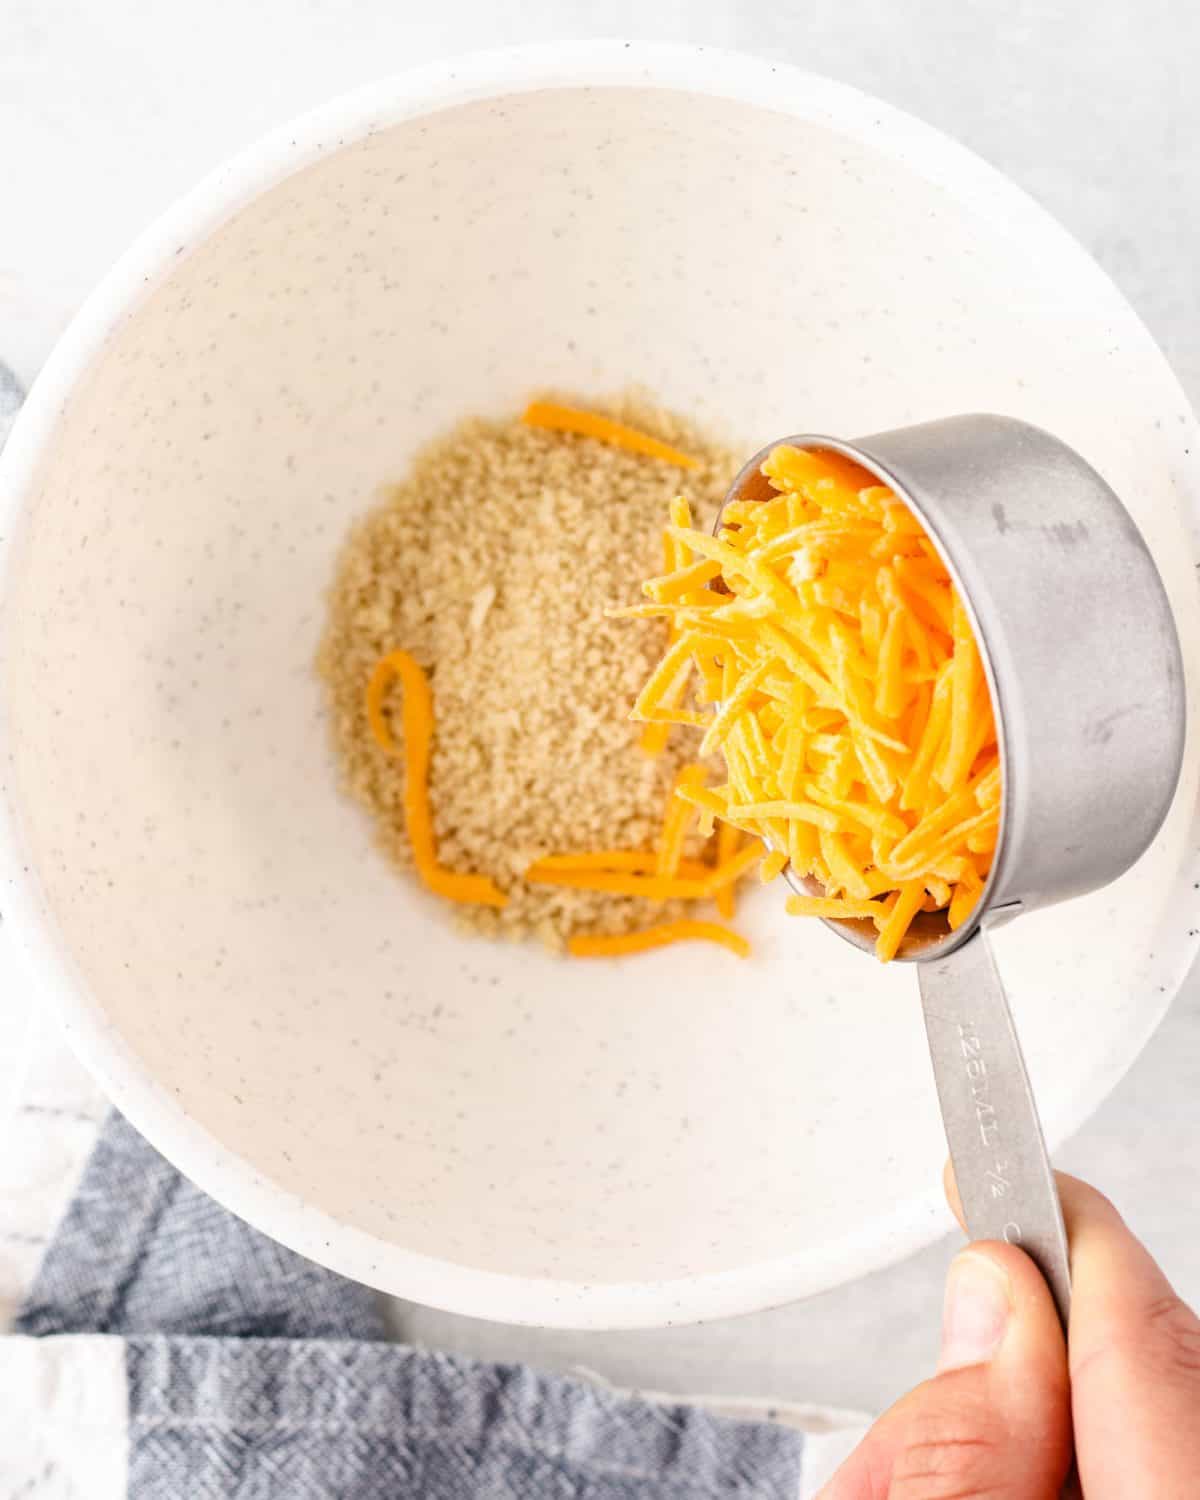
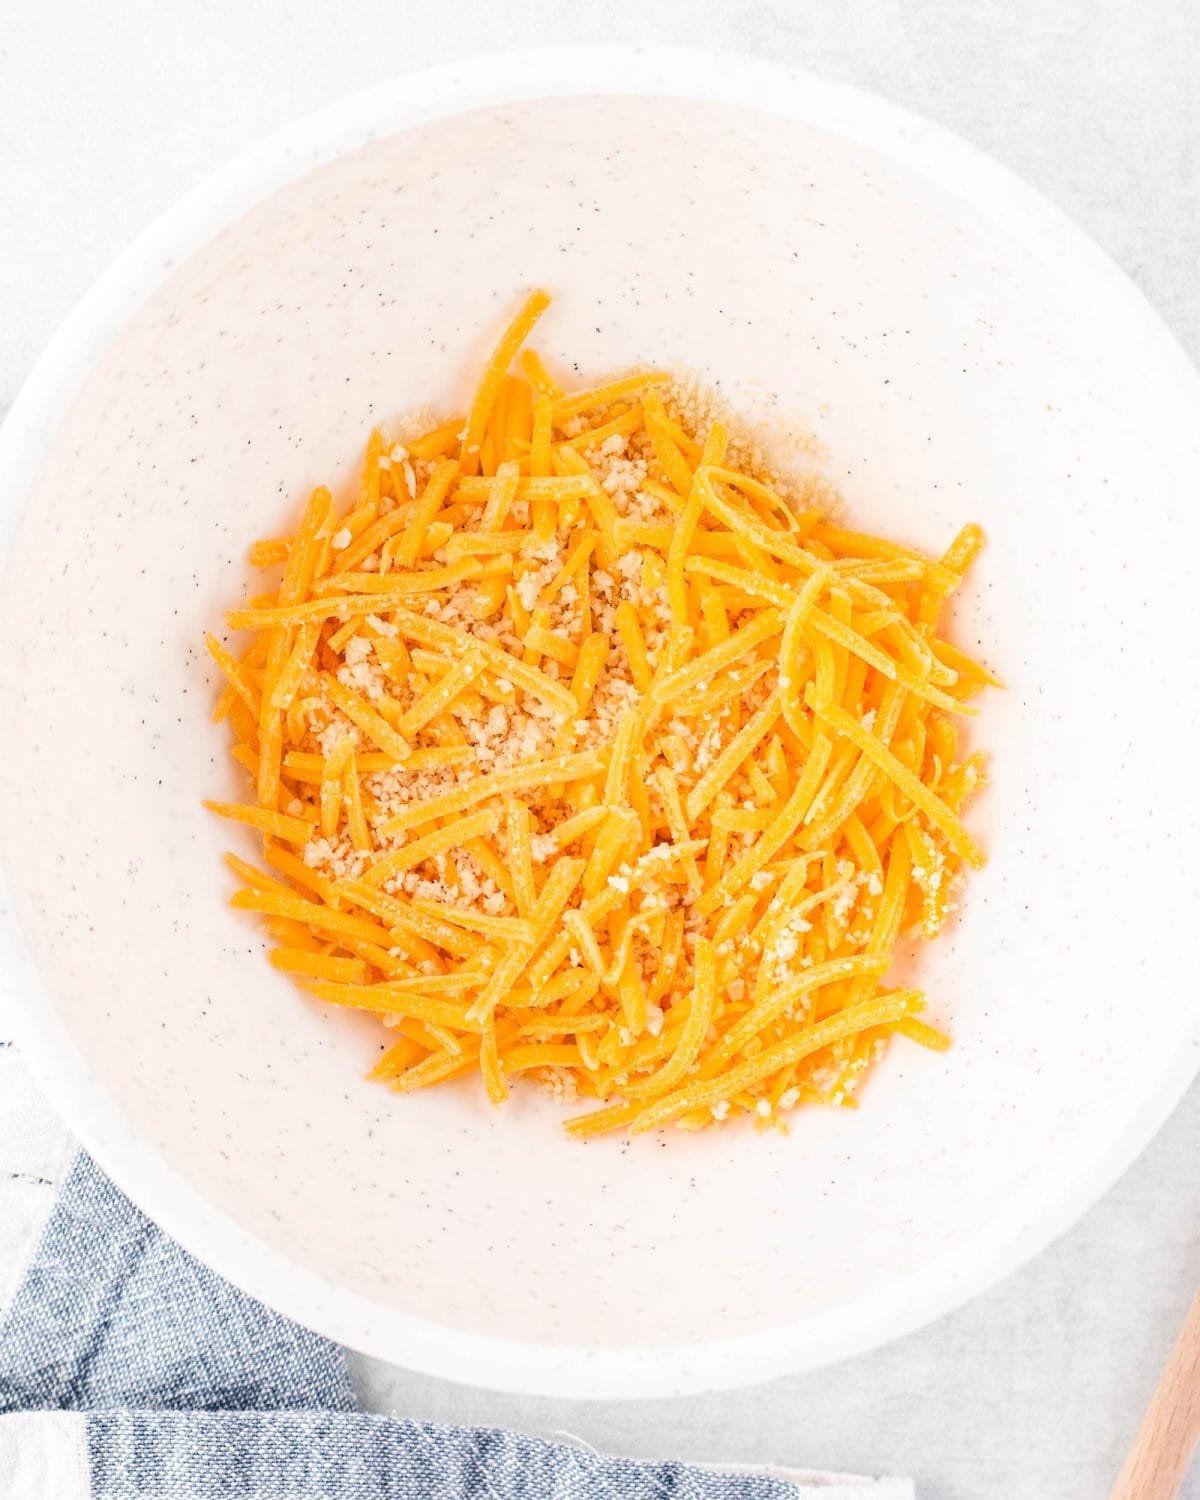
While the noodles are cooking, make the topping by combining breadcrumbs, sea salt and cheese in a small bowl, set aside.
Make the Cheese Sauce
Also while the noodles are cooking, start making the cheese sauce. Begin by melting the butter in a saucepan over medium heat.
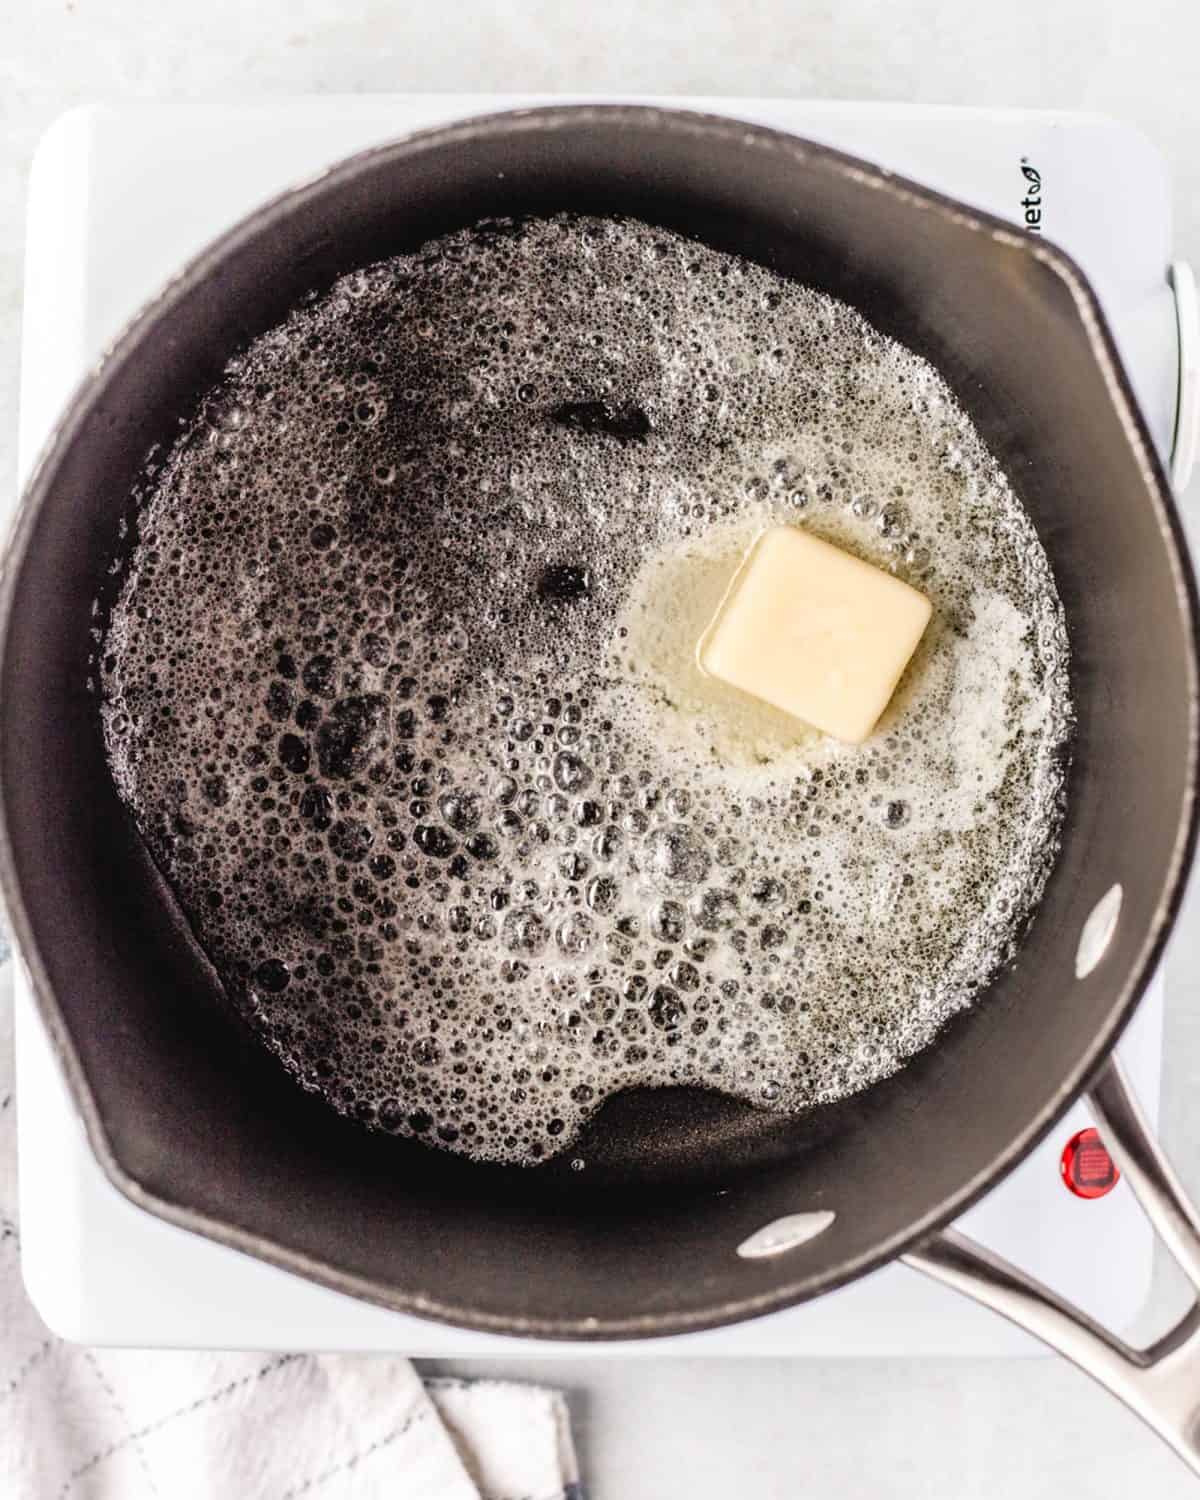
Then, whisk in the flour and sea salt and cook for 1 minute until mixture is slightly brown.
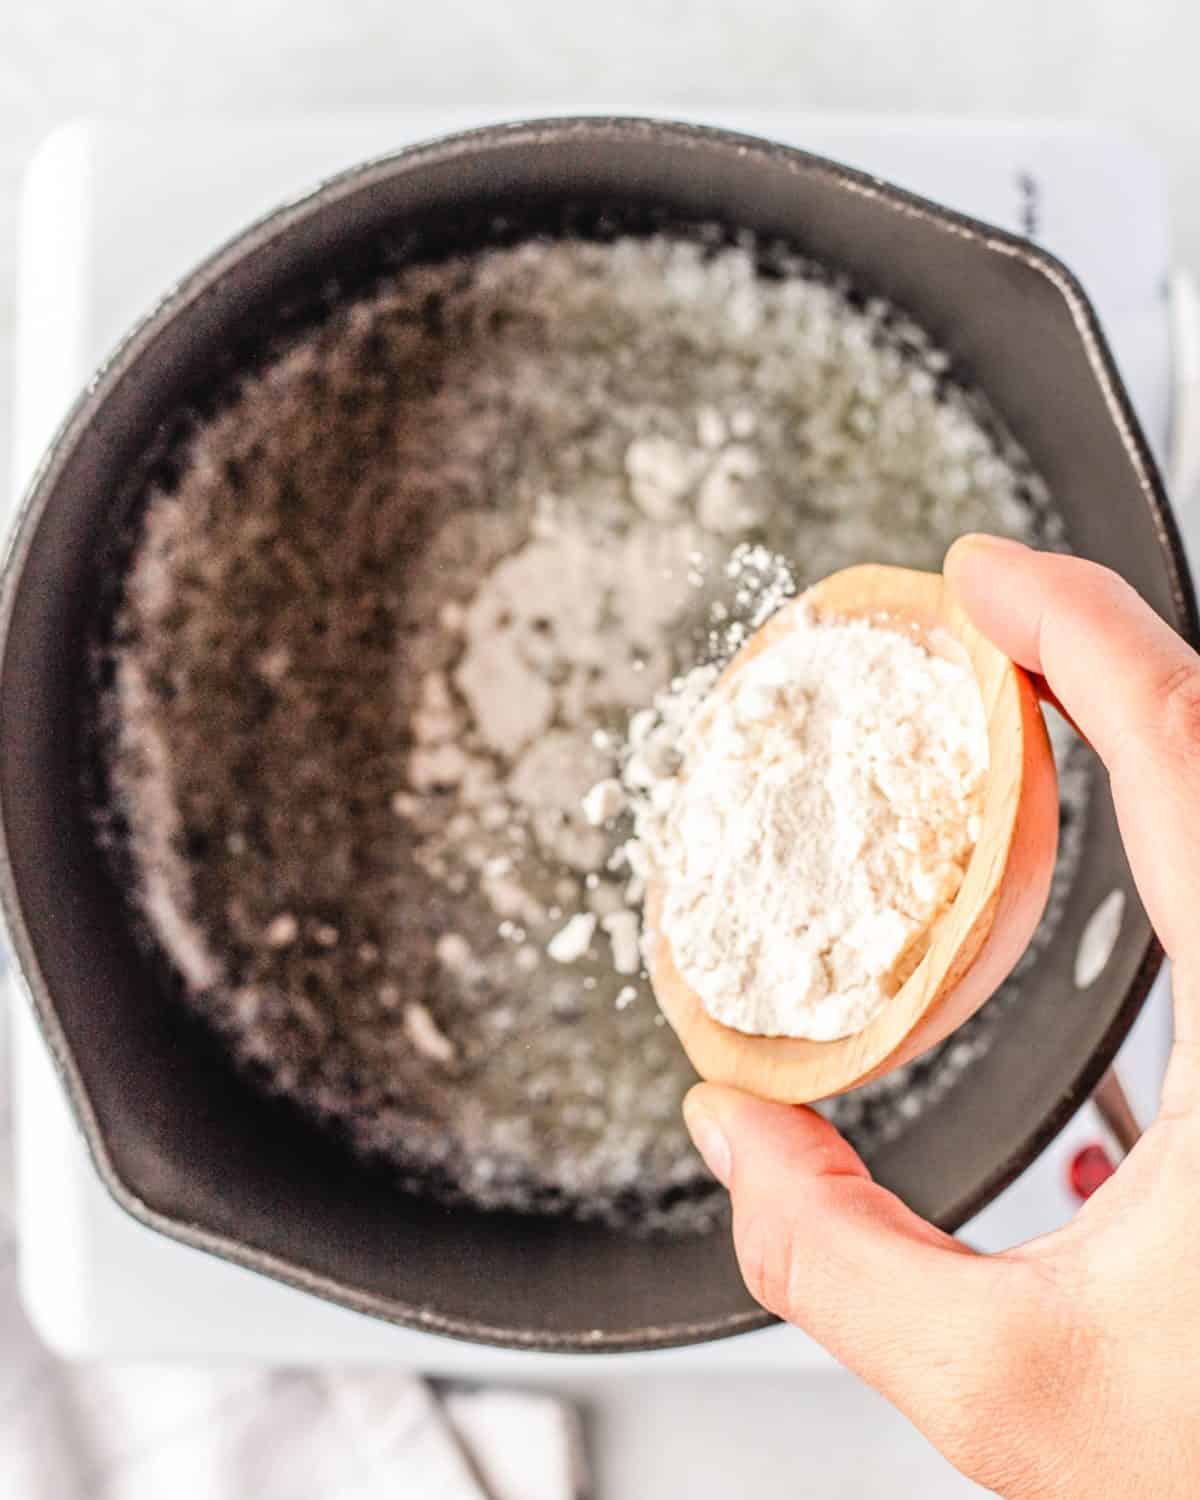
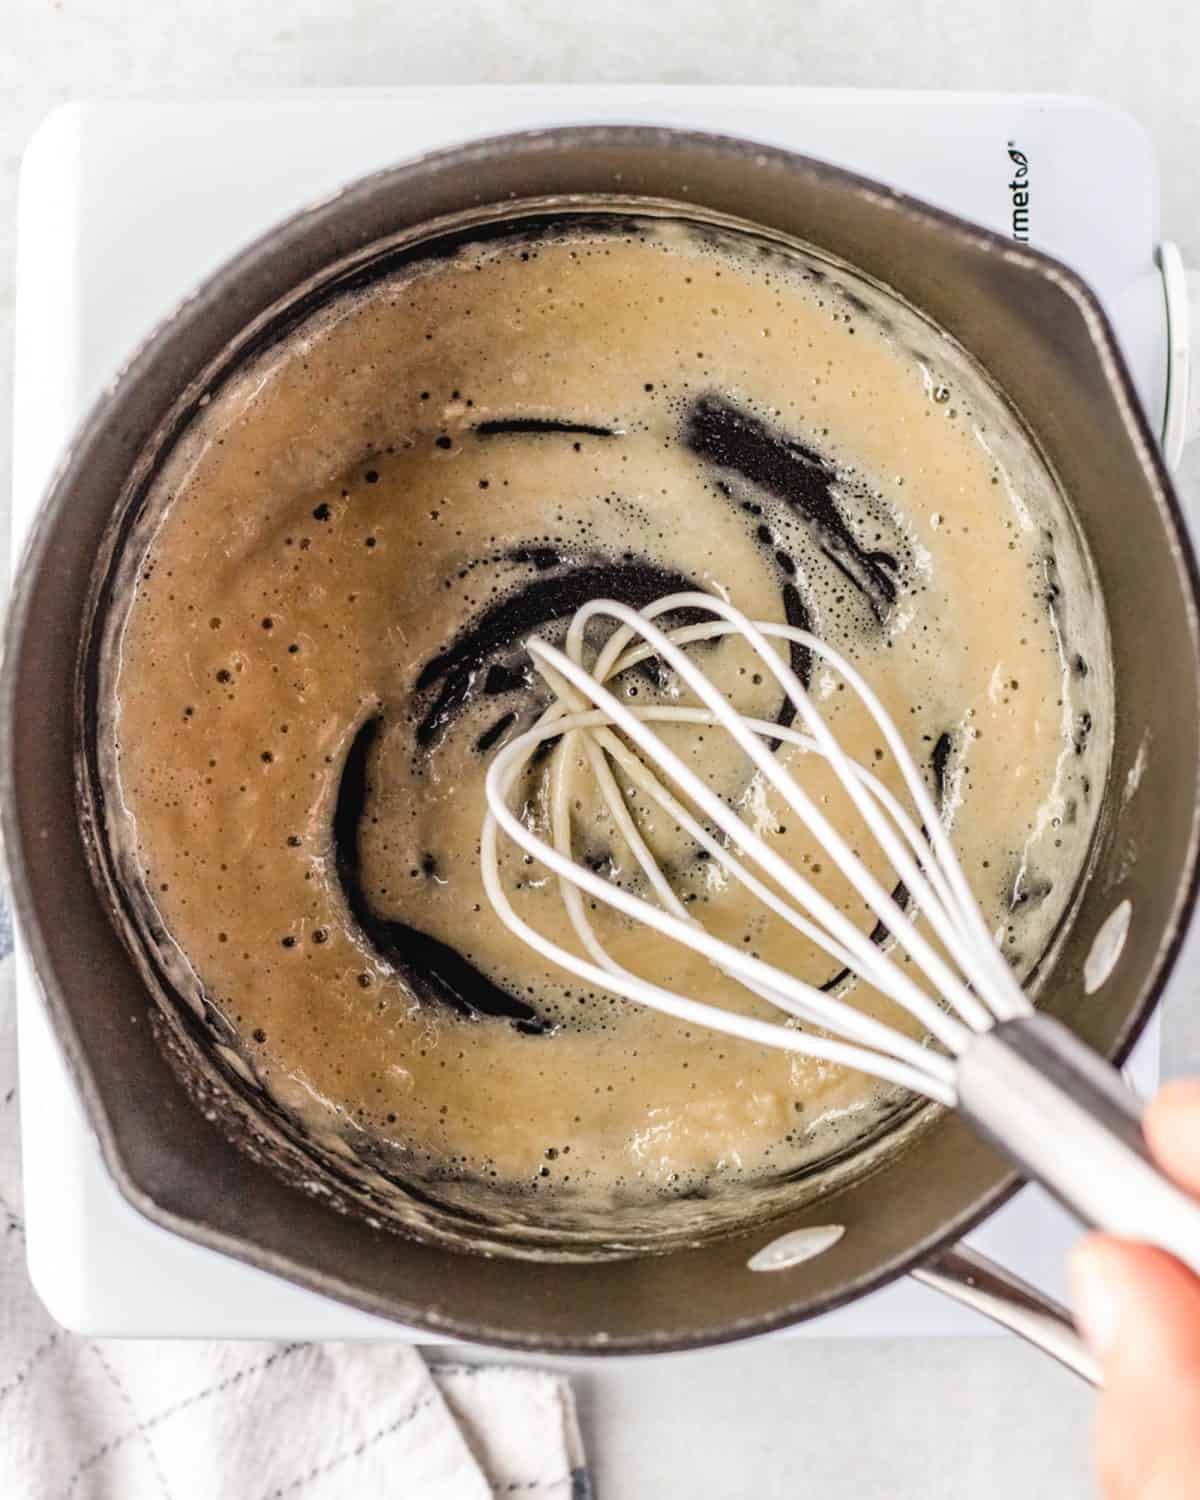
Next, add the milk and half and half and whisk until the mixture is smooth.
Then whisk in the sour cream.
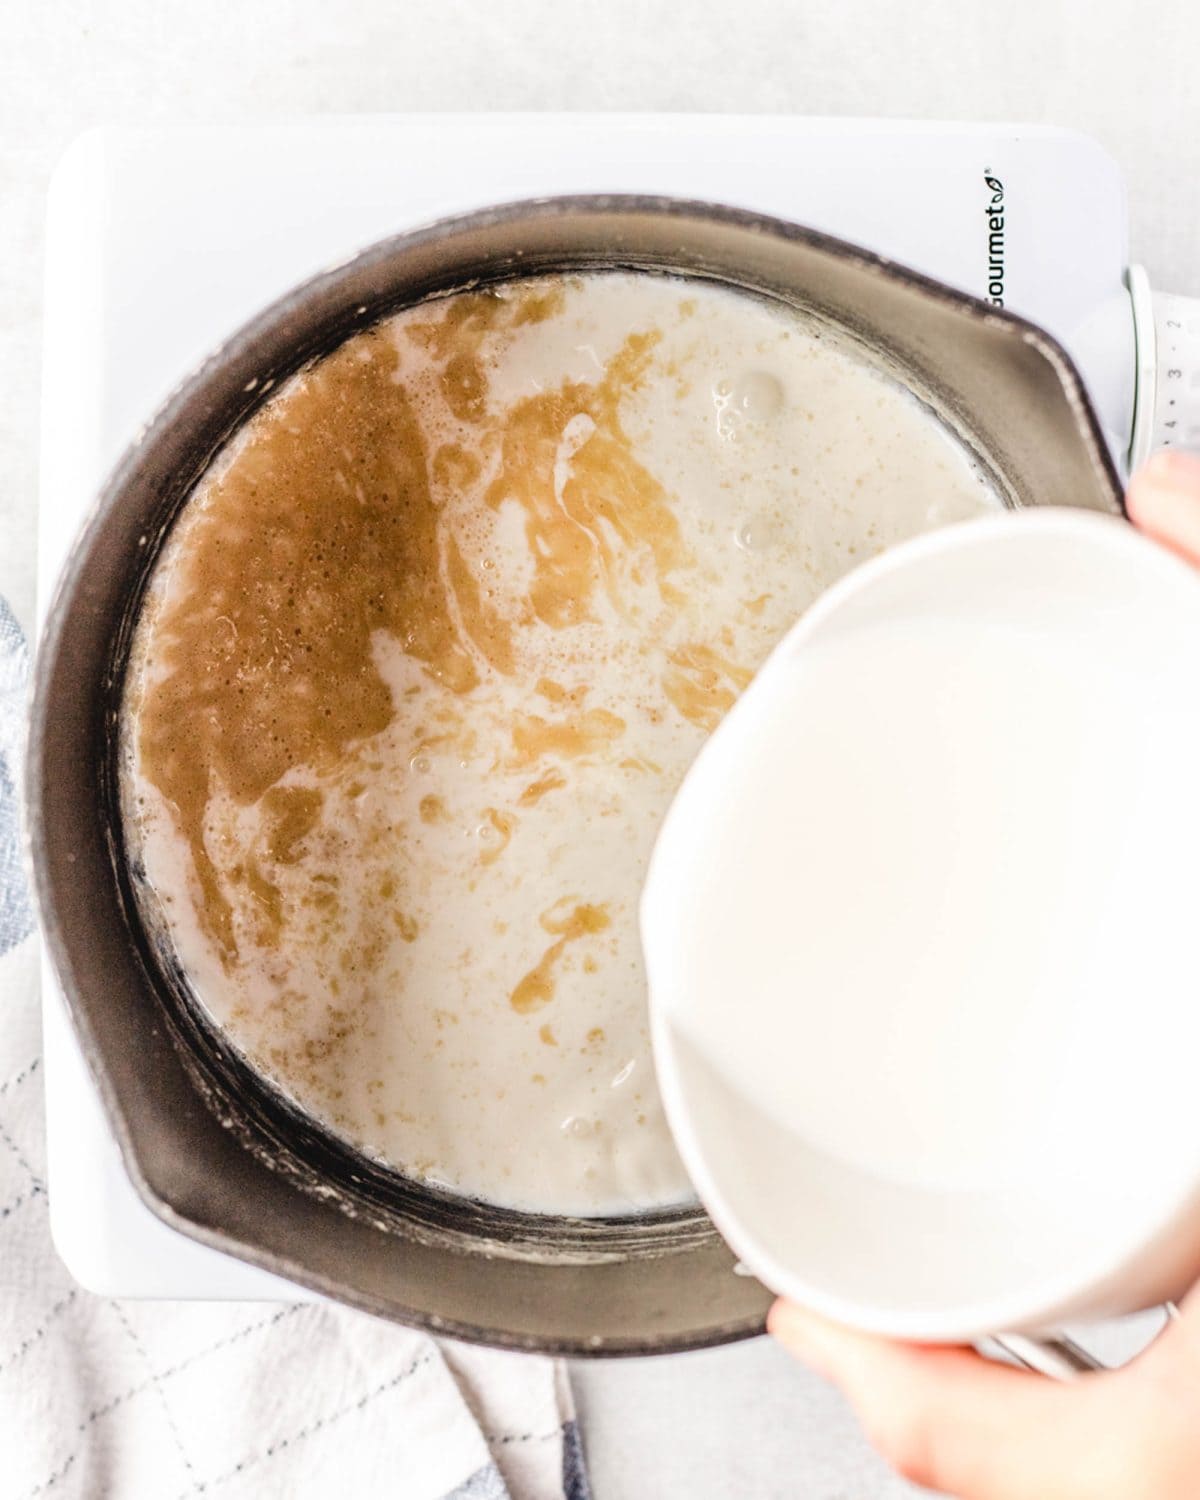
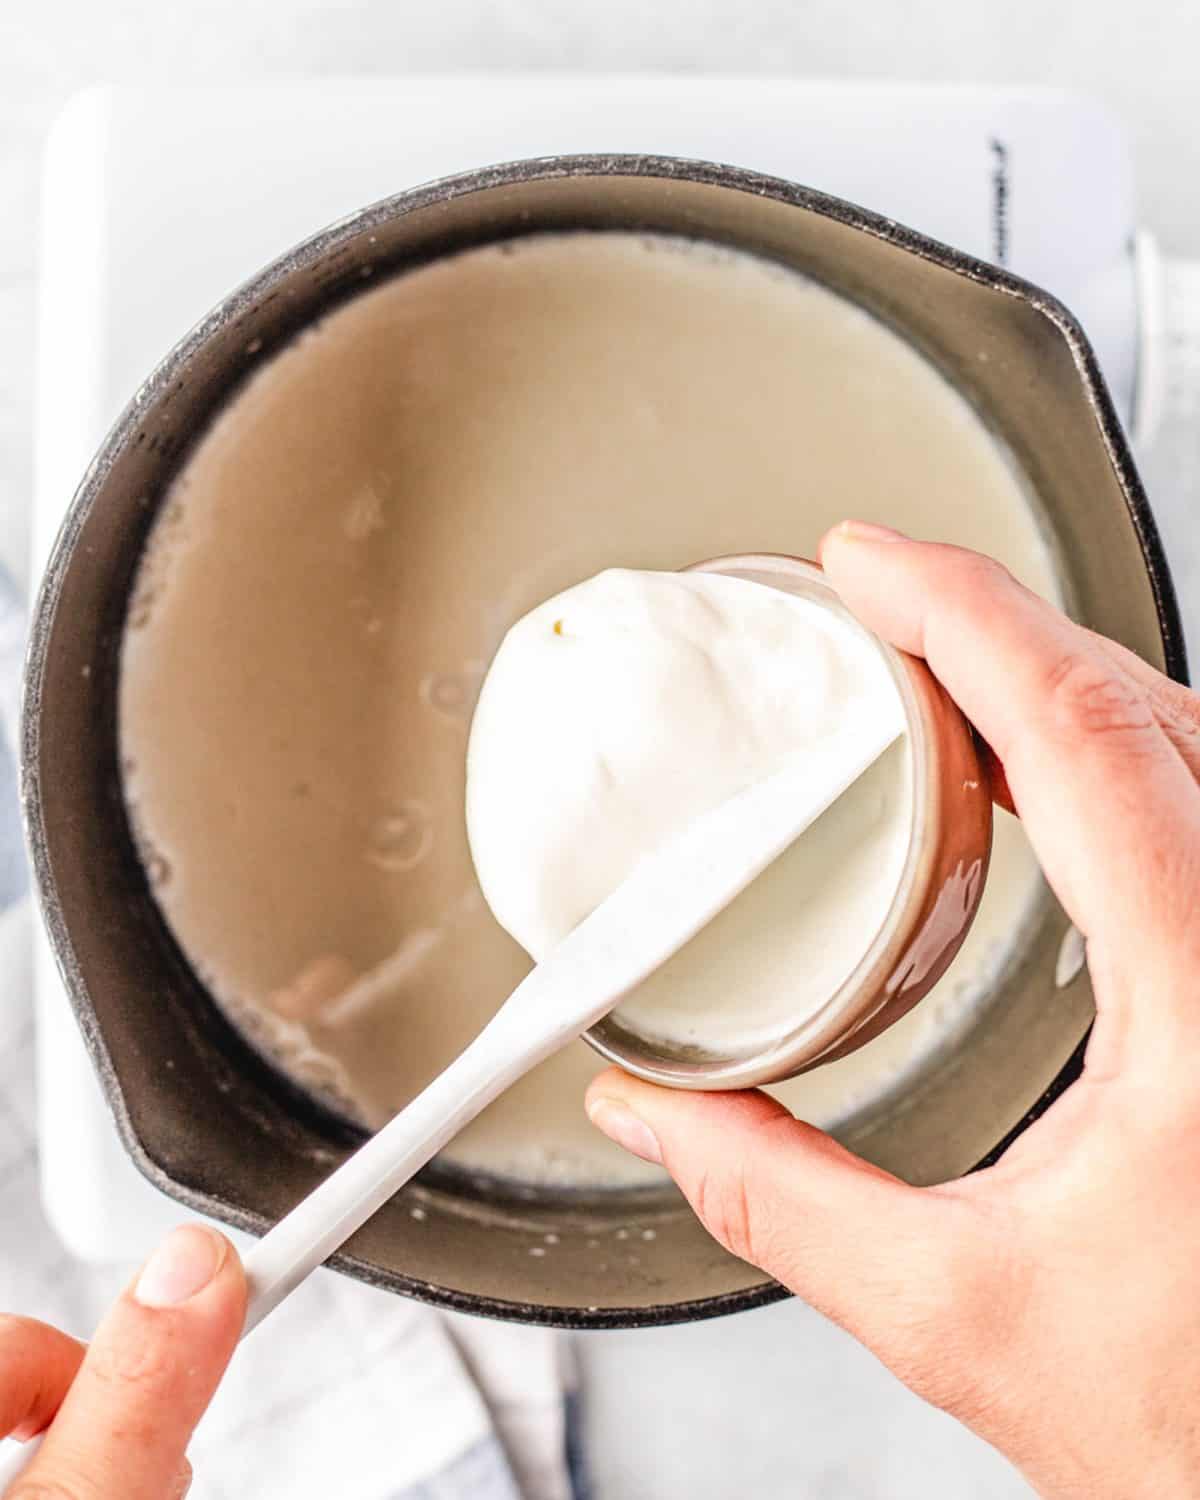
Cook the mixture on medium-high heat until it is thickened (about 3-5 minutes), whisking constantly. Do not let it boil.
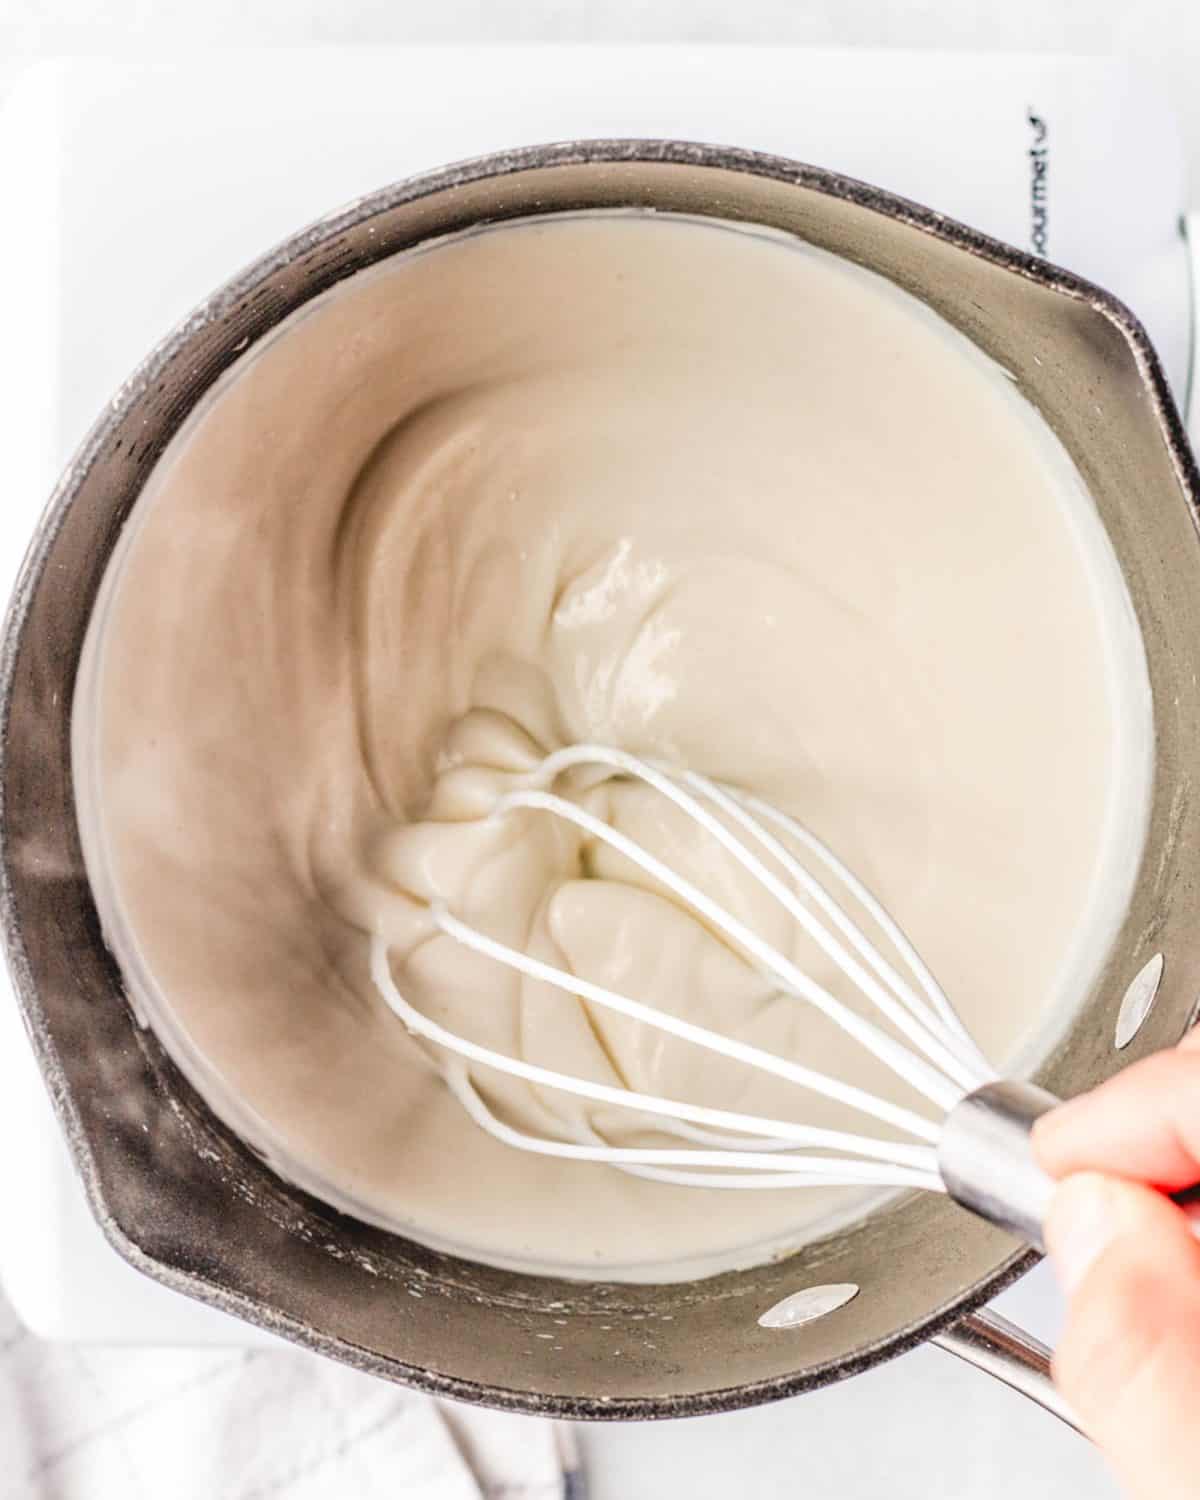
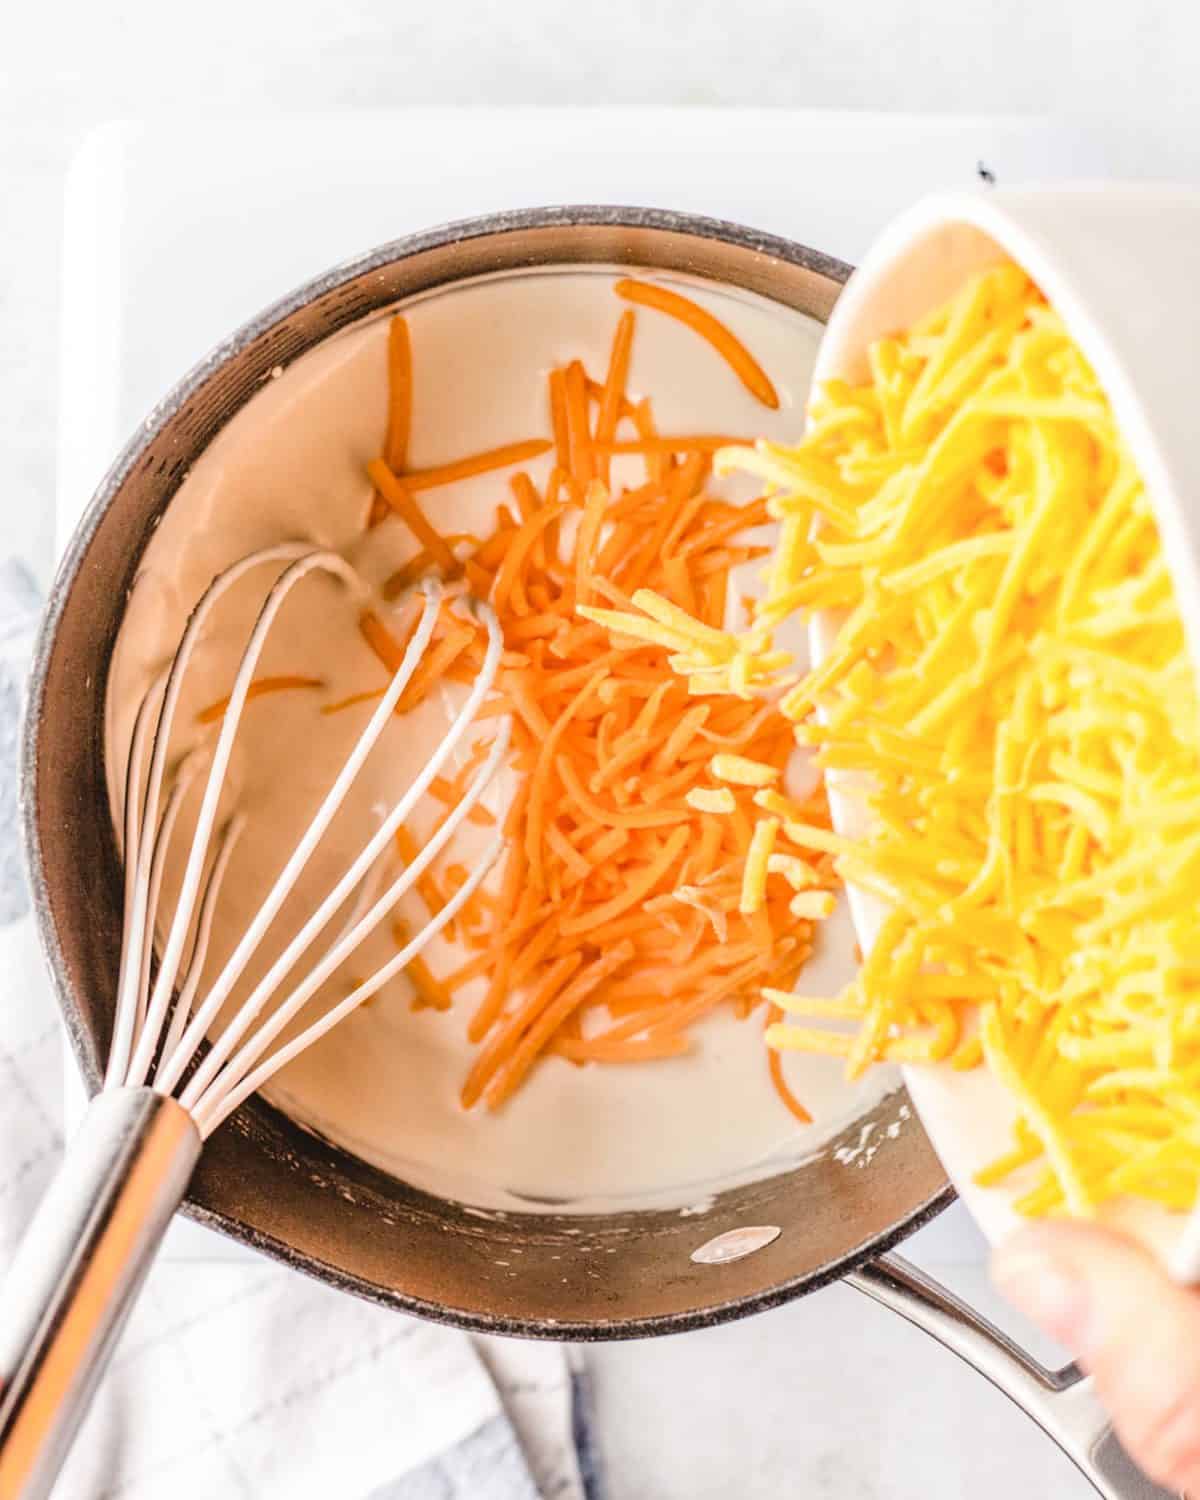
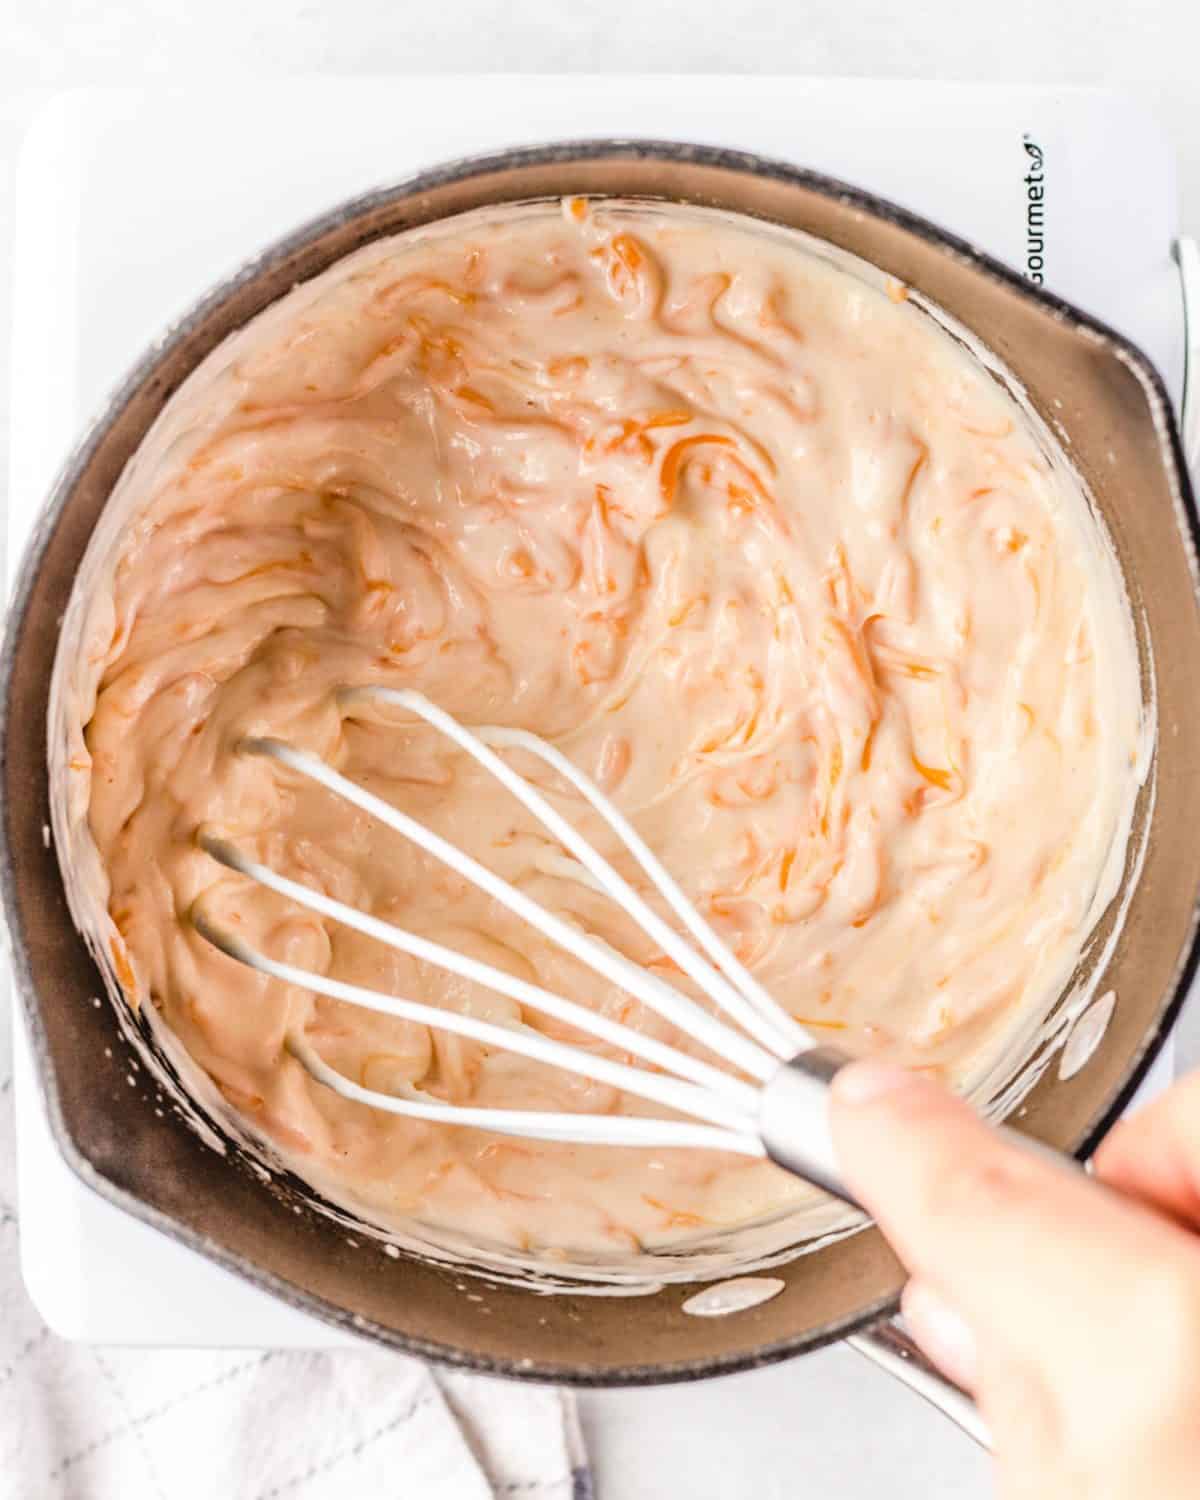
Once the mixture is thick (sticks to the back of the spatula), reduce the heat to low and add cheese. Whisk until cheese is melted and mixture is smooth (it will be smoother than the photo below.
Assemble the Macaroni and Cheese Cups
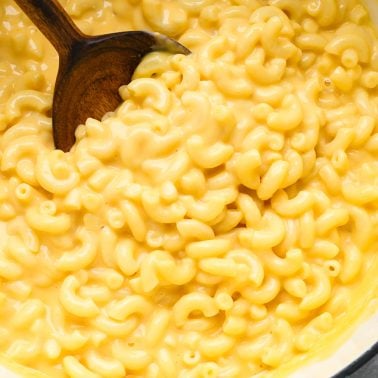
Next, add the cooked & drained pasta to the pot of cheese sauce and stir until the sauce is evenly distributed.
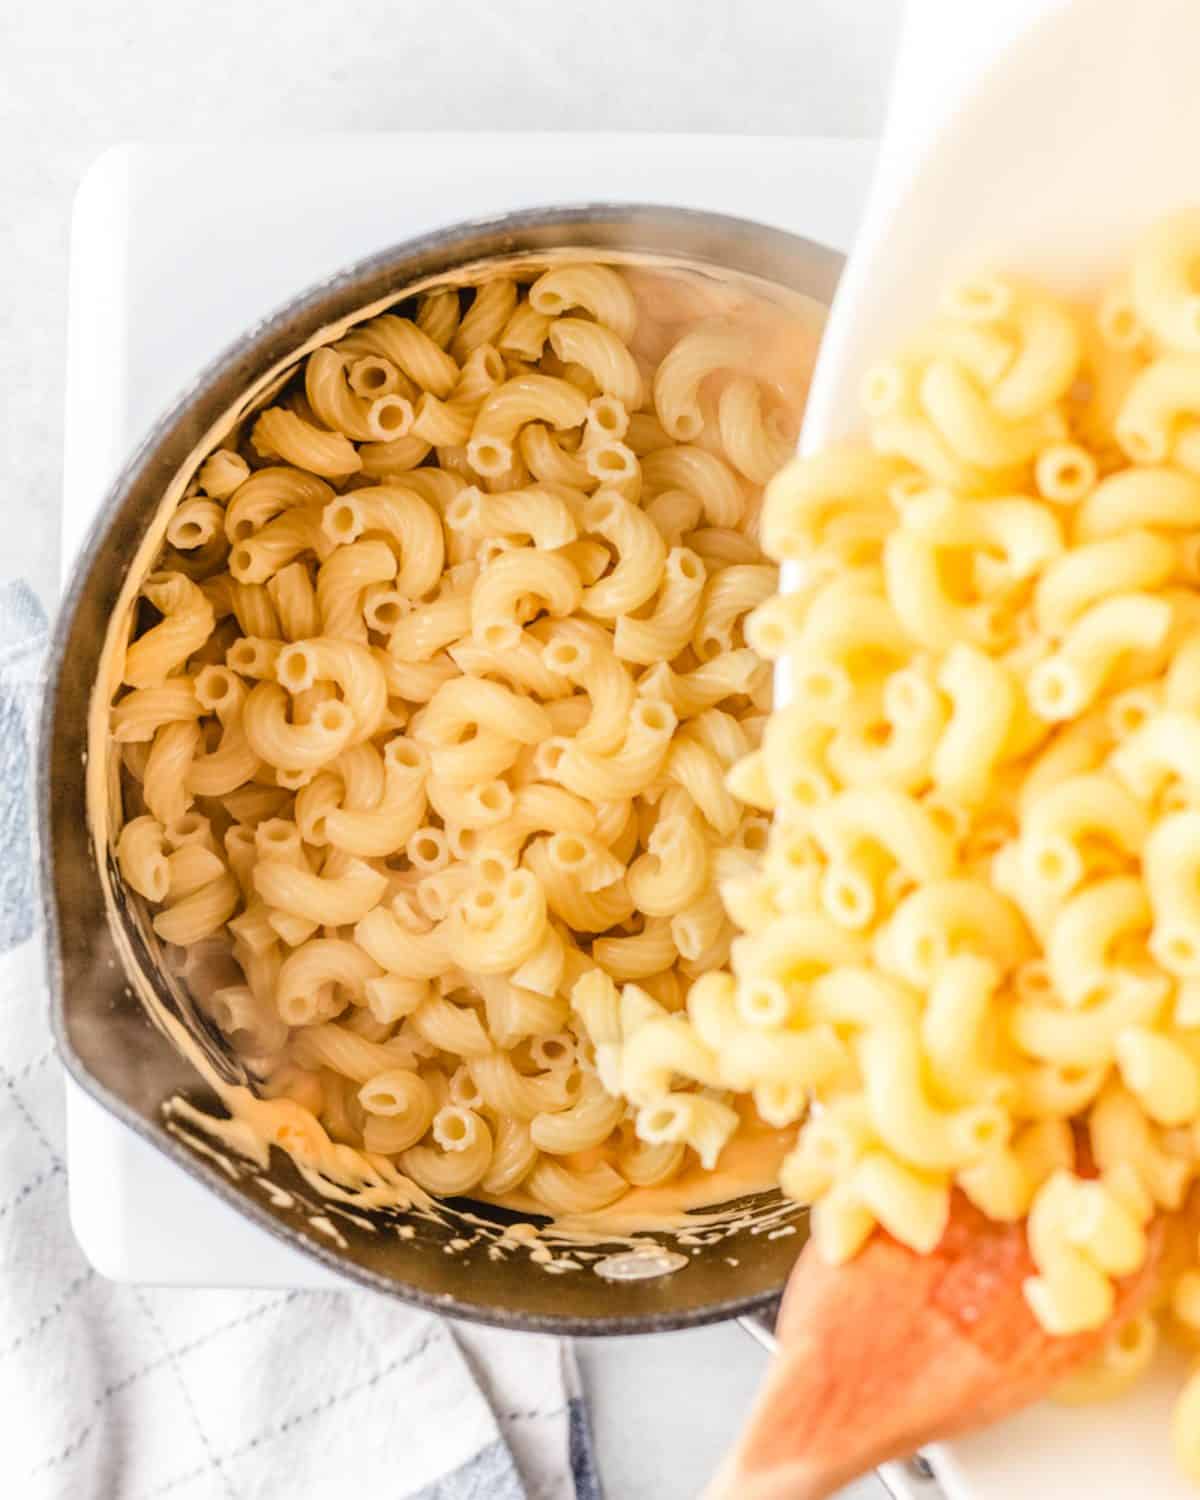
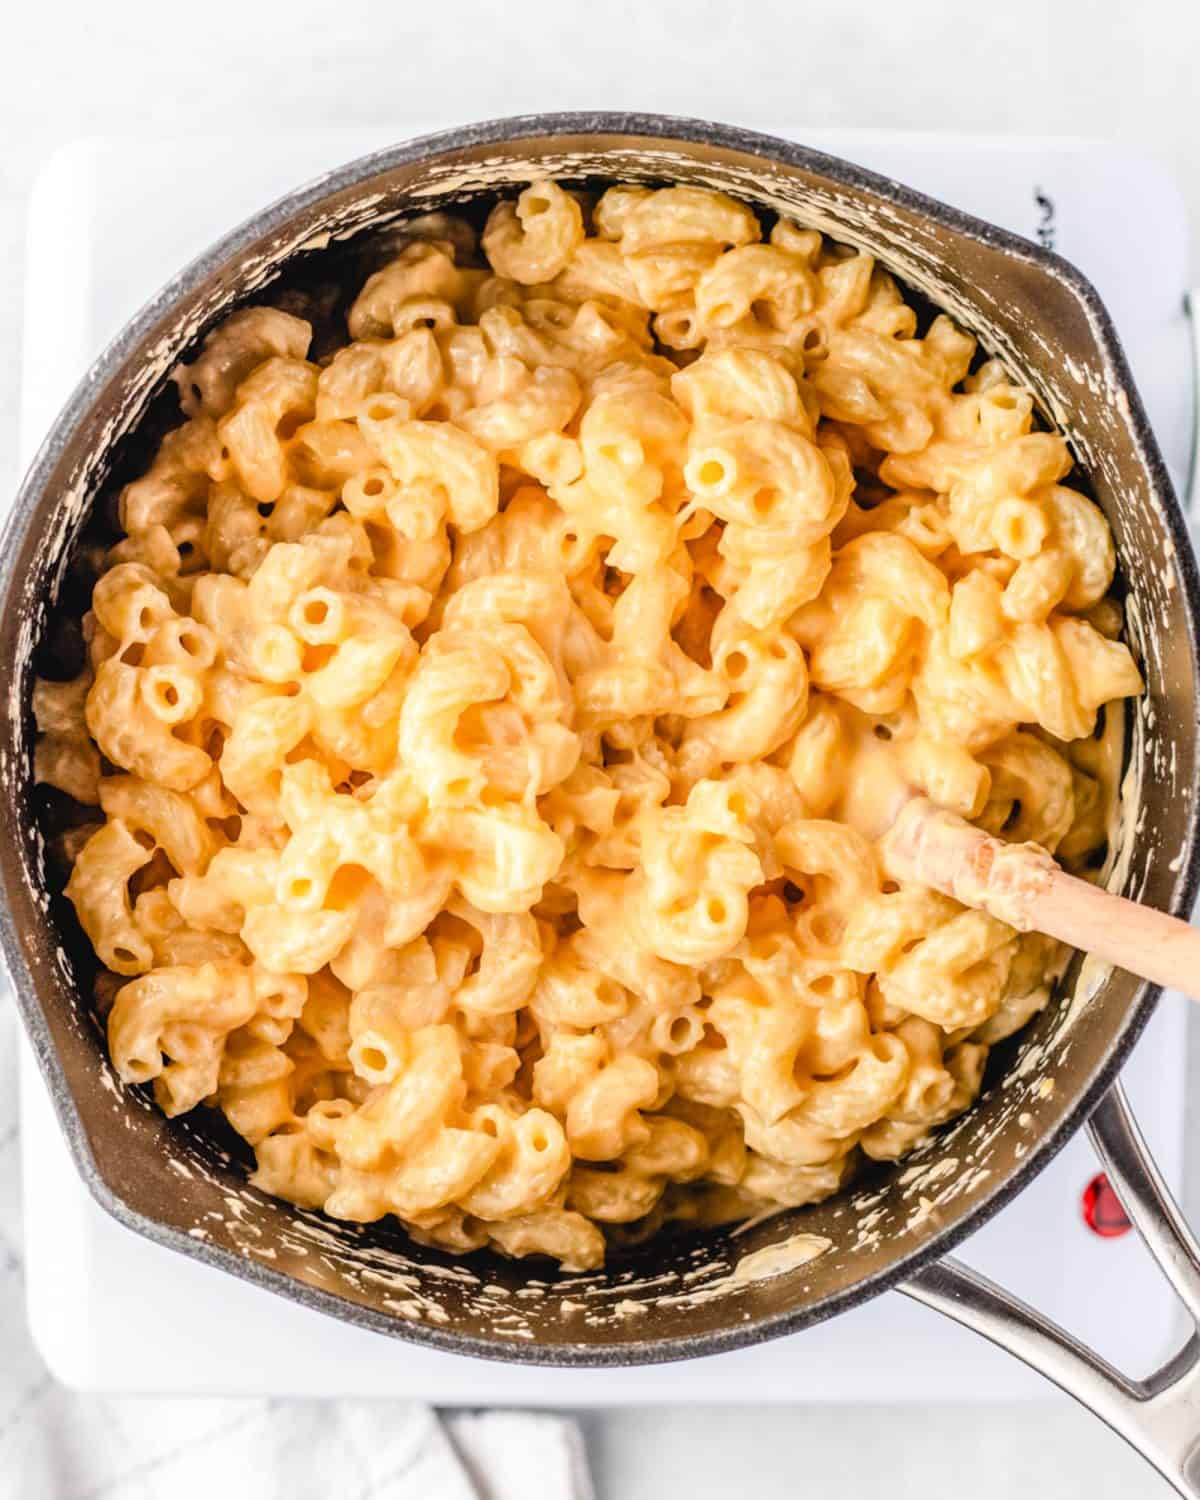
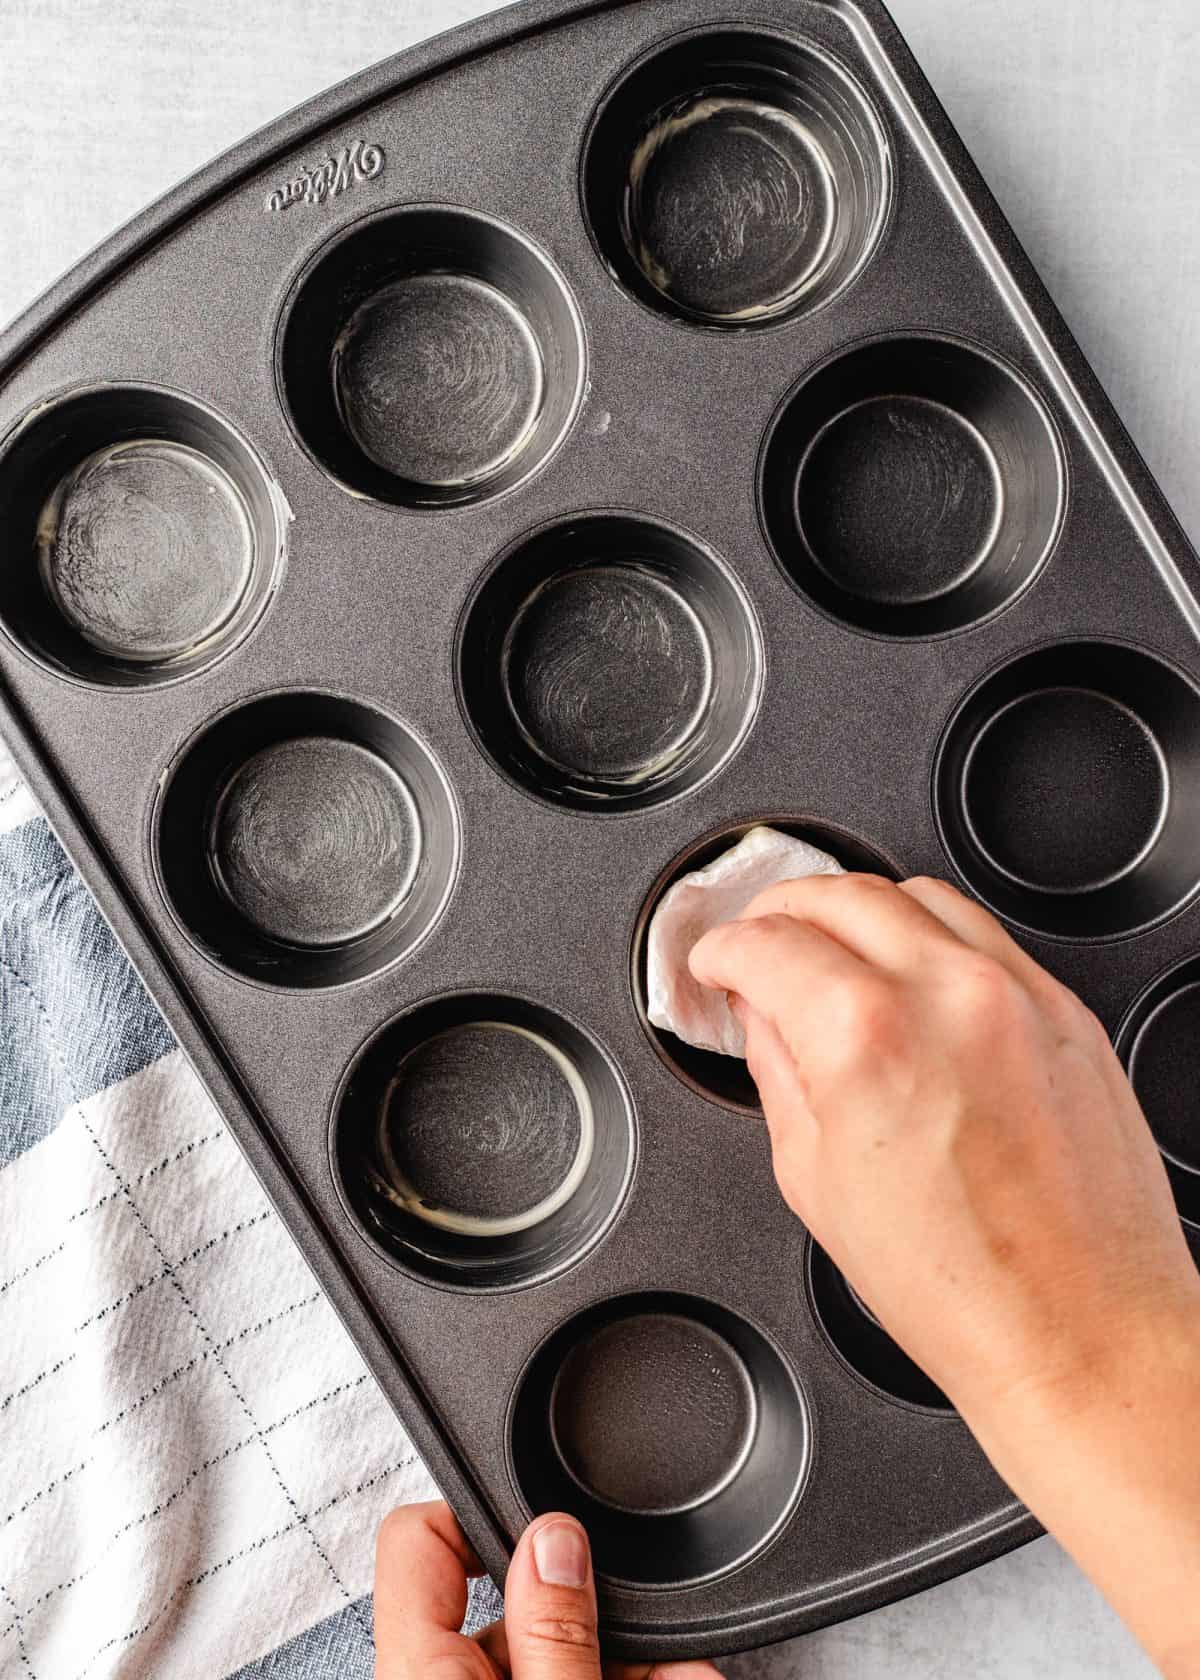
Generously grease a standard muffin tin with butter (preferred) or cooking spray. You can use a silicone muffin tin, however the sides of the mac and cheese cups won’t get as brown and crispy but they will hold up well when removed.
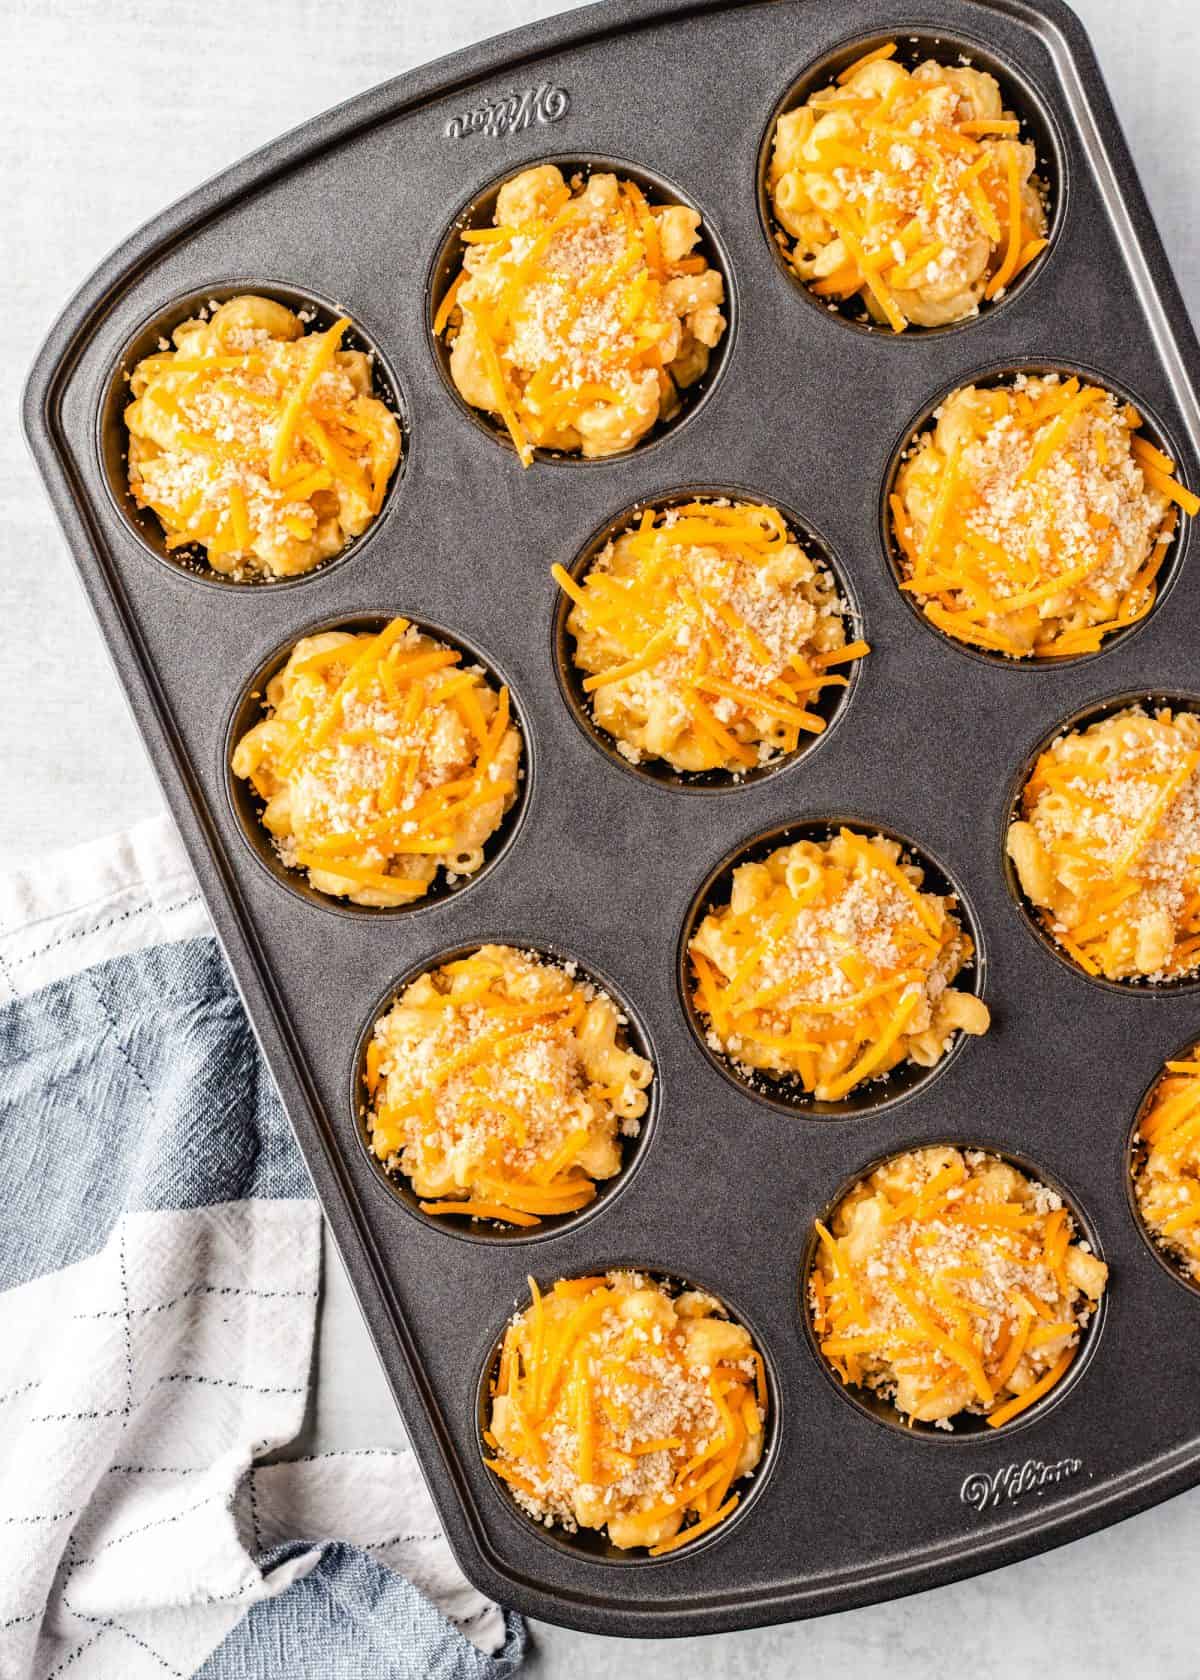
Then, use a ¼ cup measuring cup to portion out the mac and cheese into each well of the prepared muffin tin.
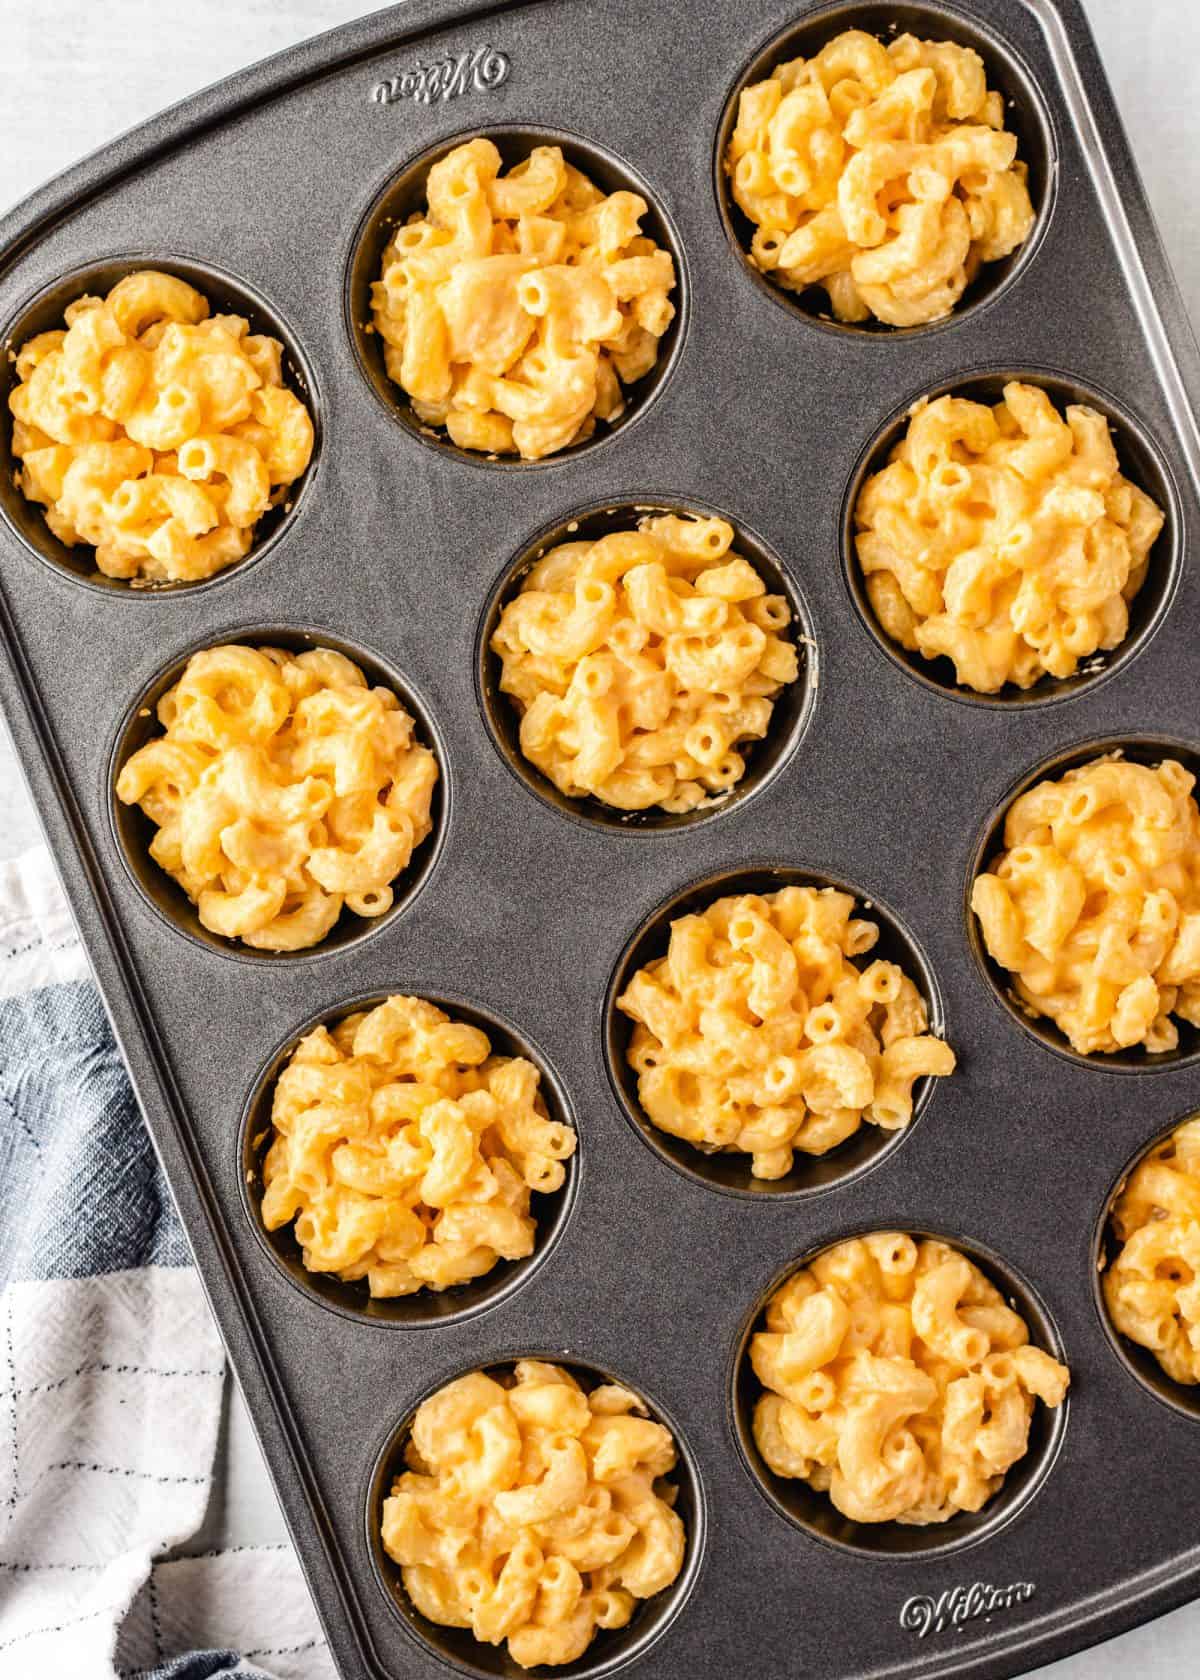
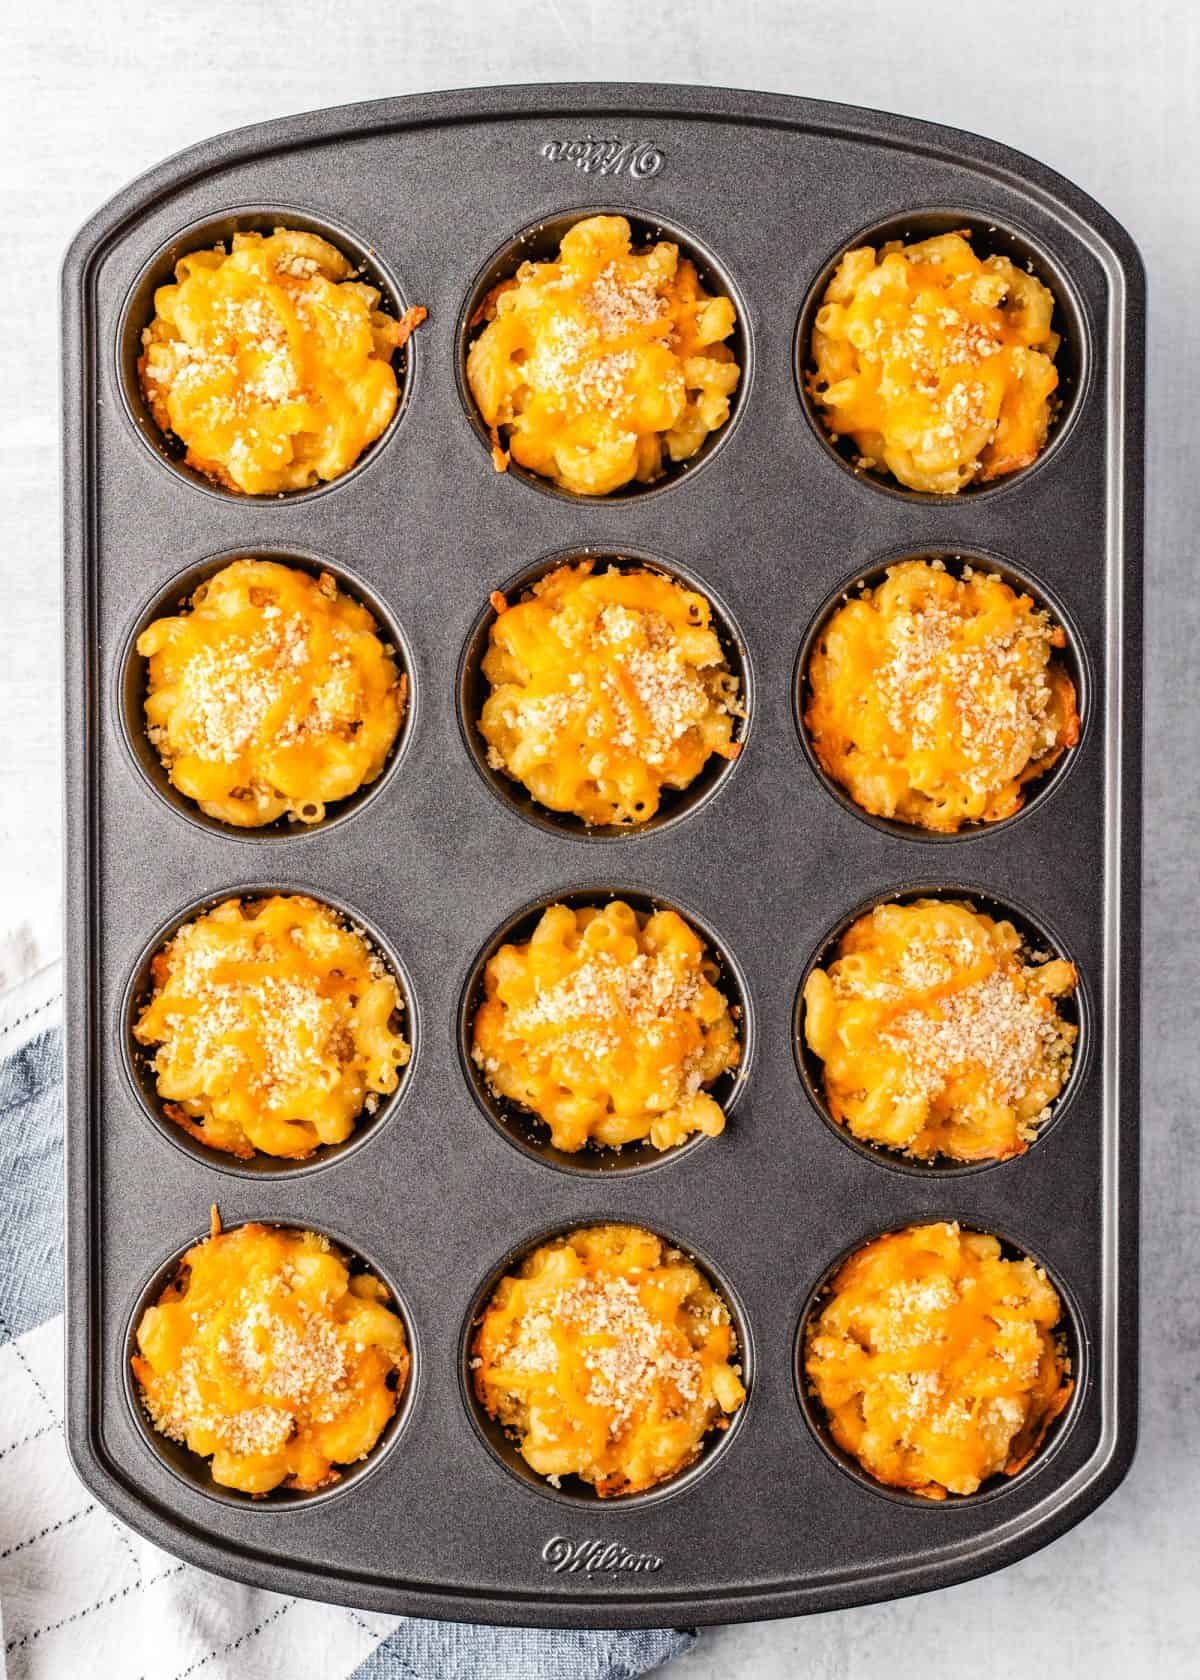
Sprinkle the topping over the mixture in the wells, then bake for 20 minutes until the top is set and the filling is bubbling.
Then, remove the baked mac and cheese cups from the oven and let them cool in the muffin tin for 5 to 10 minutes. Use a spoon to release the sides and carefully lift them out of the muffin tin.
How To Make Ahead
These mac and cheese cups are a great make-ahead side dish. Prepare the macaroni and cheese and assemble the cups in the muffin tin, then cover with plastic wrap and store them in the refrigerator until you’re ready to bake.
You can also bake the mac and cheese cups completely ahead of time and reheat them before serving.
Tips for the Best Mac and Cheese Cups
- Grease the muffin tin well. Generously butter every well of the muffin pan, including the sides, so the mac and cheese cups are easy to remove.
- Or, Use a silicone muffin pan for the easiest removal.
- Don’t rinse the pasta. Drain the cooked macaroni, but don’t rinse it.
- Don’t undercook the sauce. Cook the sauce until it’s thick enough to coat the back of a spatula before adding the cheese.
- Let them cool before removing. Let the mac and cheese cups cool in the muffin tin for 5 to 10 minutes after baking. They firm up as they cool and will be much easier to remove.
- Loosen the edges first. Gently run a spoon or butter knife around the edges of each cup before carefully lifting it out of the pan.
What to Serve With Mac and Cheese Cups
These macaroni and cheese cups are delicious served as a side dish with just about any meal! They’re also perfect for holidays, parties and potlucks!
- We always serve a veggie on the side (check out all of our vegetable recipes), usually roasted broccoli or a kale salad for a balanced meal.
- Enjoy it with these homemade chicken nuggets or the best meatloaf!
- It’s also a great Thanksgiving side dish – check out my list of our favorite Thanksgiving Recipes.
How to Store Macaroni and Cheese Cups
Store leftover mac and cheese cups in an airtight container in the refrigerator for up to 5 days.
Reheat
Reheat individual mac and cheese cups in the microwave or warm them in the oven in a covered baking dish.
Freeze
Let the mac and cheese cups cool completely, then arrange them in a single layer on a baking sheet and freeze until hardened. Transfer the frozen cups to an airtight container and freeze for up to 2 months.
Thaw them overnight in the refrigerator or reheat them gently from frozen in the microwave or oven.
Mac & Cheese Cups Recipe FAQs
The key is making a thick cheese sauce, generously greasing the muffin pan and letting them cool in the muffin tin for 5 to 10 minutes after baking.
Yes, you can double the recipe and it will make 24 mac and cheese muffins.
I recommend a high-quality medium or sharp cheddar cheese. I also love using half sharp cheddar and half gouda.
I worked hard to create this recipe to be moist and creamy while still holding together when baked as muffins.
First, a silicone muffin pan makes this super easy. Or, you can generously butter the muffin tin before adding the macaroni and cheese. After baking, let the cups cool for 5 to 10 minutes, then gently loosen the edges with a spoon or butter knife before carefully lifting them out.
No do not use paper liners. They will absorb the sauce. You can use silicone liners.
No! You don’t need eggs to make this mac and cheese cups recipe. I specifically created the cheese sauce so the cups stay creamy and cheesy while still holding together once they’re baked and cooled.
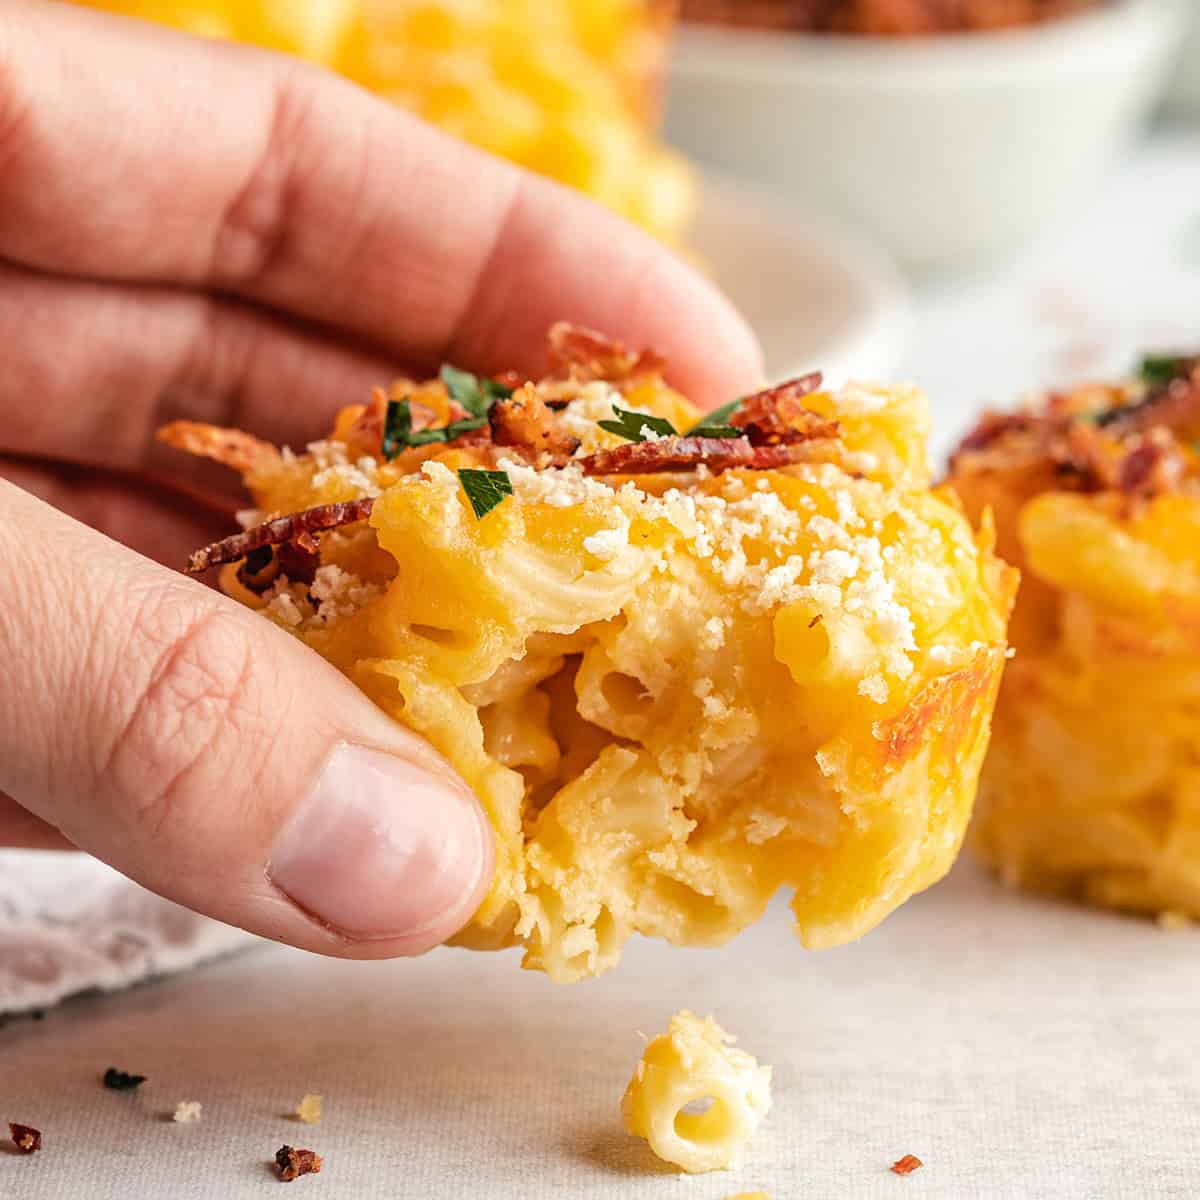
Yes! You can add cooked bacon, finely chopped broccoli, ham or other favorite mac and cheese mix-ins.
If you make and love my recipes, it would mean so much to me if you would leave a comment and rating! And don’t forget to follow along on Instagram, Pinterest, Facebook, TikTok and Youtube – be sure to tag @joyfoodsunshine and use the hashtag #joyfoodsunshine so I can see your creations!

Macaroni and Cheese Cups (Mac & Cheese Cups)
Video
Ingredients
- 8 ounces elbow macaroni (uncooked)
Cheese Sauce:
- 2 Tablespoons salted butter
- 2 Tablespoons all-purpose flour
- ¼ teaspoon sea salt
- ½ cup whole milk
- ½ cup half and half
- ¼ cup sour cream (or greek yogurt)
- 1 ½ cups cheddar cheese (shredded)
Topping:
- ½ cup shredded cheddar cheese
- ¼ cup panko breadcrumbs
- Pinch fine sea salt
Instructions
- Preheat oven to 375 degrees Fahrenheit (190 degrees Celsius). Generously butter or grease a standard muffin tin (or use a silicone muffin tin).
- Cook the elbow macaroni according to package instructions in salted water. Once it’s finished cooking, drain and set aside but do not rinse.
Make the Topping
- Combine breadcrumbs, sea salt and cheese in a small bowl, set aside.
Make the Cheese Sauce
- In a large saucepan over medium heat, melt the butter.
- Whisk in the flour and sea salt.
- Cook for 1 minute until mixture is slightly brown.
- Add milk and half and half and whisk until the mixture is smooth.
- Add sour cream (or Greek yogurt) and whisk until smooth.
- Cook on medium-high heat until the mixture is thickened (about 3-5 minutes), whisking constantly. Do not let it boil.
- Once mixture is thick (sticks to the back of the spatula), reduce heat to low and add cheese. Whisk until cheese is melted and mixture is smooth.
Assemble & Bake
- Add cooked pasta to the pot of cheese sauce and stir until the sauce is evenly distributed.
- Use ¼ cup measuring cup to portion out the mac and cheese into each well of the muffin tin.
- Sprinkle topping over the mixture.
- Bake for 18-20 minutes until the top is set and the filling is bubbling.
Cool & Serve
- Remove the baked mac and cheese cups from the oven and let them cool in the muffin tin for 5 to 10 minutes. Use a spoon to release the sides and carefully lift them out of the muffin tin.
Notes
- Elbow macaroni. To make sure this recipe sticks together, I don’t recommend substituting a different pasta shape. You can use gluten-free macaroni to make this recipe gluten-free.
- Salted butter. Unsalted butter is a good substitute.
- All-purpose flour. Corn starch and all-purpose gluten-free flour both are good substitutes.
- Whole milk/half and half. this recipe calls for a total of 1 cup of liquid dairy. You can replace either whole milk or half and half with heavy cream or 2% milk.
- Sour cream. I recommend full-fat sour cream. Full-fat Greek yogurt is a great substitute.
- Cheddar cheese. The quality of the cheese that you use in this recipe really matters. I recommend a high-quality medium to sharp cheddar cheese for the best flavor. I often use half sharp cheddar, half shredded gouda and it’s so, so good.
- Panko breadcrumbs. Any breadcrumbs work in this recipe, I like the crunchy texture of panko. I explain how to make your own in the recipe card.
Nutrition
Nutrition information is automatically calculated, so should only be used as an approximation.




Can you make and bake head and warm up afterwards?
Yes!
Can you make these in muffin cups and if so, will the muffin cup paper stick to mac and cheese ?
I do think the paper might stick.
They are delicious but fell apart when trying to get them out of the pan. I followed everything in the recipe. Is there some secret to getting them out of the pan
Did you generously butter each well of the muffin pan? Using a silicone muffin pan makes them VERY easy to remove!
Have you ever done them in mini muffin pans? If so, what adjustments to temp & time did you make? Wanting a smaller portion for a cocktail party
I haven’t tried it, but you would need to reduce baking time.
I don’t see how much sour cream should be used.
The amount is in the recipe card – 1/4 cup.
Can I make the mac n cheese a few hours ahead and then bake right before guests arrive?
Yes you can!